
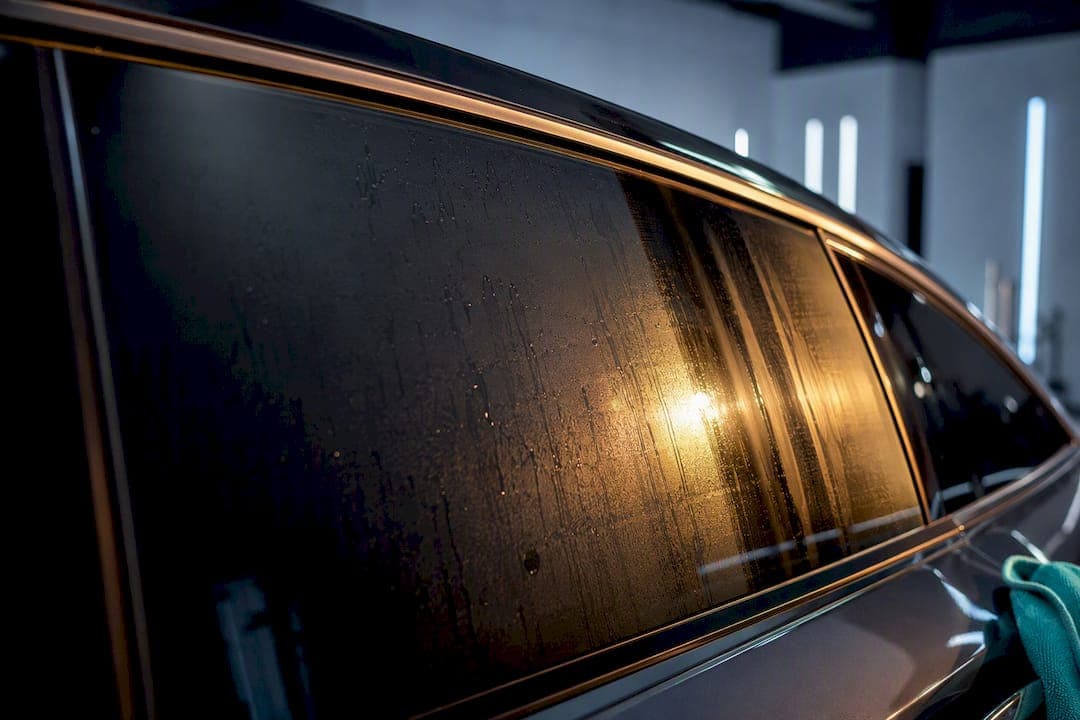
Give your fresh tint at least two to three days before you roll a window down, and hold off on interior glass cleaning for several days. That's the primary caution period. Under typical conditions, plan on 3 to 7 days before the film settles into regular use, and up to 30 days for full molecular cure. Heat, humidity, and film type can stretch that timeline in either direction.
TL;DR:
- Most window tint surfaces dry within 24 to 72 hours, but full curing can take up to 30 days depending on environmental conditions and film type.
- Avoid rolling down windows, cleaning interior glass, or using ammonia-based cleaners for at least 3 to 5 days, longer in humid or cold weather.
- Hot, dry conditions accelerate curing, while cold, humid climates slow it down, potentially extending full cure beyond a month.
- Small bubbles or haziness in the first week are normal, but persistent bubbling, edge lifting, or discoloration after 30 days indicate a possible issue.
- Professional installation techniques, proper edge sealing, and controlled curing conditions help ensure a proper, even bond and reduce troubleshooting later.
Table of Contents
- Quick Guidelines: Your Tint Cure Time Timeline At a Glance
- What Affects Tint Cure Time (Detailed Factors)
- Day-by-Day Timeline: What to Expect From Day 0 to Day 30
- Aftercare: Do's and Don'ts While Tint Cures
- Recognizing Problems: Normal Curing vs. When to Call the Installer
- Installer Techniques That Speed Safe Curing
- What Installers Wish Customers Knew About Cure Time
- Get a Professional Install That Cures Right the First Time
- Sources
Quick Guidelines: Your Tint Cure Time Timeline At a Glance
You don't need to memorize a research paper to get this right. You need a short list of rules you can follow the moment you pick up your car.
Here's the fastest way to think about it: drying happens on the surface in a couple of days, but curing, the actual adhesive bonding, keeps working underneath for weeks. Most window film dries on the surface within 24 to 72 hours, while primary curing runs 3 to 7 days and full molecular cure stretches out to 30 days.
Use this checklist as your baseline once you leave the shop:
- Rolling windows down: Wait at least 2 days, preferably closer to 3.
- Cleaning interior glass: Hold off several days, longer in humid weather.
- Using the defroster: Avoid direct blasts at the glass for the first few days; use low fan speed if you need visibility.
- Exterior car washes: Fine after 3 days for most films, but skip high-pressure wands aimed directly at window edges for a full week.
- Ammonia-based cleaners: Avoid entirely until the film is fully cured, closer to the 30-day mark.
Climate changes these numbers fast. Hot, dry weather speeds up surface drying and can reduce your wait time. Cold, humid conditions do the opposite, sometimes extending the full cure beyond a few weeks. If you live in an area with heavy humidity, expect longer curing times and be patient rather than testing the film early.
Pro Tip: Snap a photo of your dashboard clock or a dated receipt right after installation. It gives you an exact reference point for counting your cure days instead of guessing.
What Affects Tint Cure Time (Detailed Factors)
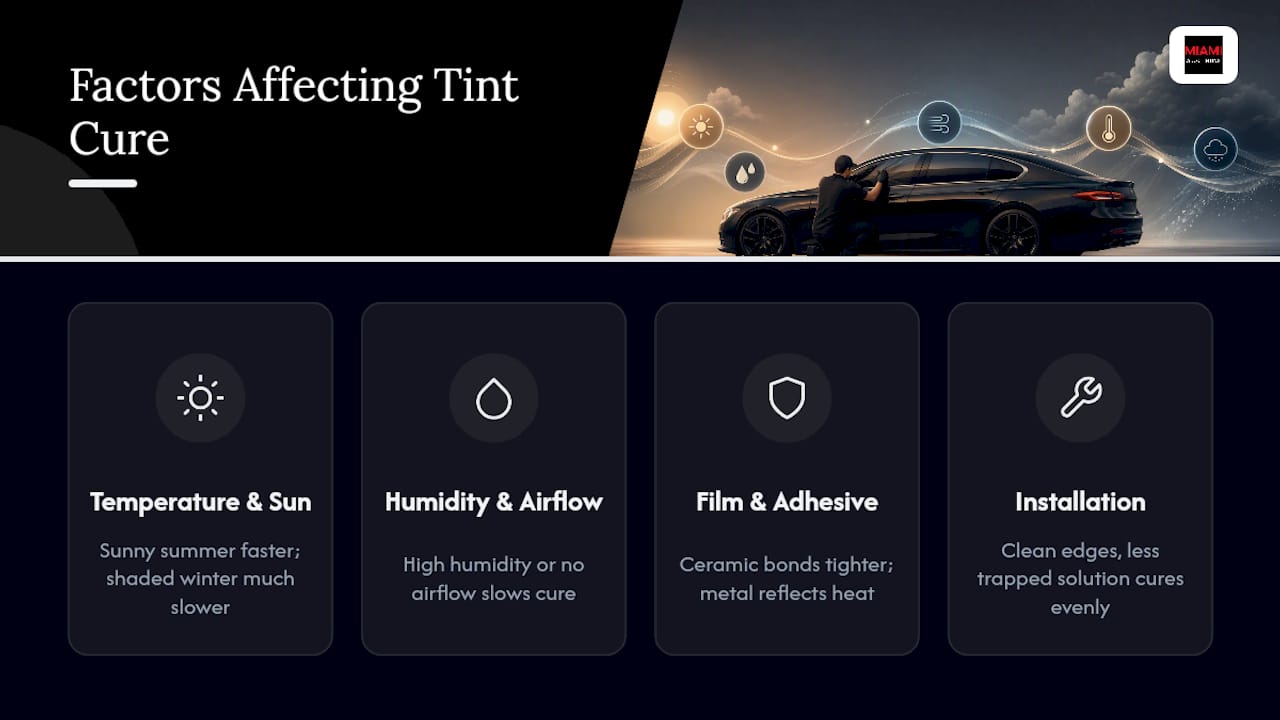
Cure time isn't one fixed number, it's a range that shifts based on your environment and your film. Understanding why helps you set realistic expectations instead of panicking over a bubble that's actually normal.
Temperature and sunlight matter more than most owners assume. Curing works best in temperatures roughly between warm and hot conditions, with lower relative humidity below about half. Below that range, the adhesive's water based solution evaporates too slowly. Above it, especially with intense direct sun baking one side of the glass, you risk uneven curing where one section dries faster than the rest.
Humidity and airflow work against each other in a specific way. High humidity traps moisture between the film and the glass, slowing the evaporation that curing depends on. A car parked in a closed, stuffy garage cures more unevenly than one with a little airflow, even if it's shaded.
Film type and adhesive vary more than people expect. Basic dyed films tend to cure a bit faster on the surface but can show haze longer. Metalized films handle heat differently because of their reflective layer. Ceramic films use adhesive formulations built to bond tightly with less trapped moisture, but they still need the same patience during the early cure window.
Installation technique plays a bigger role than most drivers realize. Films installed below the window gasket, with clean edge sealing and minimal trapped mounting solution, cure more evenly than a rushed job. Trapped solution under the film is one of the most common causes of bubbles that linger far past the normal window.
Parking and season round out the list. A shaded garage in winter cures slower than a sunny driveway in summer, sometimes by a week or more. If you can split the difference, occasional light sun exposure without extreme heat, you'll get the most even result.
Day-by-Day Timeline: What to Expect From Day 0 to Day 30
Knowing what's normal on any given day keeps you from mistaking a routine part of the tint curing process for a mistake. Here's how it typically unfolds.
- Hours 0 to 24: The film's outer surface starts drying, but the edges near the gasket often stay tackier than the middle. Leave every window untouched. Don't roll them down, don't press on the film, don't wipe the glass.
- Days 1 to 3: Most of the visible surface moisture clears out. You may notice small pinhead-sized bubbles or a light, milky haze across the glass. This is normal moisture working its way out from under the film, not a sign of a bad install. Skip interior cleaning during this stretch.
- Days 4 to 14: The film should look noticeably clearer as bonding strengthens underneath. Small bubbles from the earlier days usually shrink or disappear entirely. If you spot larger bubbles forming, or edges that seem to be lifting away from the glass during this window, that's worth flagging, not ignoring.
- Days 15 to 30: This is the home stretch for full molecular cure, particularly in humid or cold climates where full cure can extend to 30 to 45 days. Haze should be gone. Any defect still visible after 30 days, persistent bubbling, discoloration, or peeling at the edges, points to an installation issue or a film problem rather than a normal part of curing, and it's time to call your installer.
The pattern to remember: small, scattered imperfections early on are just moisture leaving. Large, growing, or edge-based defects that stick around past day 14 are a different story.
Aftercare: Do's and Don'ts While Tint Cures
Fresh film is more fragile than it looks. A few careless habits in the first two weeks can undo a clean installation.
Cleaning rules:
- Wait 3 to 5 days before touching interior glass with any cleaner, longer in humid climates.
- Skip ammonia-based glass cleaners entirely until the film hits full cure, they can break down the adhesive and cause discoloration over time.
- When you do clean, use a soft microfiber cloth and a film-safe, ammonia-free cleaner.
Window operation:
- Keep every window fully up for at least 48 hours, 72 if possible.
- When you do roll windows down for the first time, do it slowly. Fast operation drags fresh film against the gasket seal before the edges have fully bonded, which can lift the film right where it's most vulnerable.
Defroster and climate control:
- Avoid pointing the defroster directly at freshly tinted windows for the first 2 to 3 days.
- Use a lower fan setting and let cabin heat clear fog gradually instead of blasting hot air straight at the glass.
Parking guidance:
- A mix of shade and mild sun promotes more even curing than either extreme.
- Full sun in triple-digit heat can cure the surface fast while leaving trapped moisture underneath, so if you're in a hot climate, occasional shade helps balance things out.
Pro Tip: Keep a simple two-week log on your phone, one line a day noting anything unusual. If you ever need to contact your installer about a defect, dated notes make the conversation faster and more credible.
For a longer walkthrough on maintaining film once it's cured, Southmiamitint's window film care guide covers daily maintenance in more detail.
Recognizing Problems: Normal Curing vs. When to Call the Installer
Small pinhead bubbles or a faint haze in the first week are part of the process, not a red flag. Professional detailers generally agree that these early artifacts dissipate on their own as the film finishes curing, and they don't automatically point to a bad installation.
What does deserve a call to your installer:
- Bubbles that grow larger instead of shrinking after two weeks.
- Visible lifting or gaps along the window edges.
- Discoloration, purple or brownish tint shifts, that shows up weeks after install.
- Persistent haze that hasn't cleared by day 30.
Before you contact anyone, gather evidence. Take dated photos in consistent lighting, note the temperature and humidity that week, and write down exactly when you first noticed the issue. This makes a warranty claim faster to process and harder to dispute.
One thing to avoid completely: don't try to pop bubbles or scrape the film yourself. DIY fixes commonly void warranties and can permanently damage the film, turning a fixable issue into a costly redo. A quick visual check and a light touch at the edges is all you should do on your own. For a broader look at common installation defects and how they're typically resolved, see this guide to fixing tint installation issues.
Installer Techniques That Speed Safe Curing
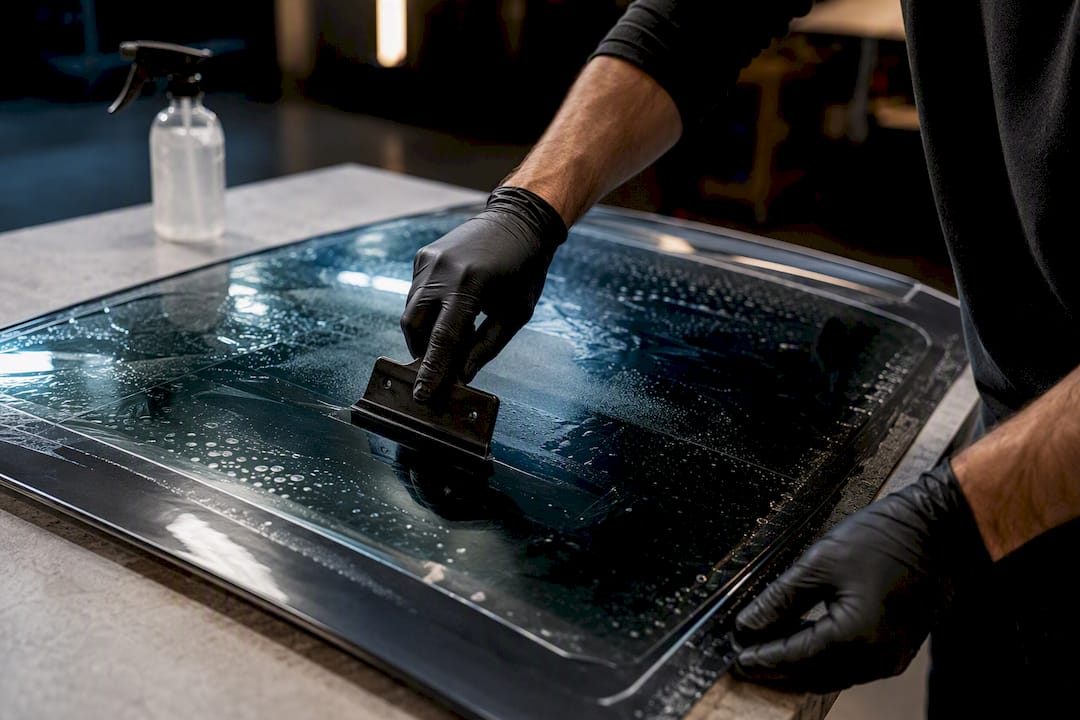
Professional shops don't leave curing to chance. Controlled workspace conditions, temperature management, careful squeegee pressure, and clean edge sealing, all reduce the trapped mounting solution that causes lingering bubbles or uneven bonding.
Some installers use a Dot Matrix Tack and Cure Method to target common problems in ceramic film installation such as silvering, where trapped moisture creates a faint metallic sheen instead of a clean, clear finish. The technique focuses on precise, evenly spaced application pressure and controlled venting during the tack phase, which helps moisture escape uniformly rather than pooling under one section of film.
When you're vetting an installer, ask directly: what's your process for edge sealing, how do you manage cure time in humid conditions, and what's covered if silvering or bubbling shows up later? A shop with a real answer, not a shrug, is one that treats curing as part of the job, not an afterthought.
What Installers Wish Customers Knew About Cure Time
Most callback complaints we see trace back to one thing: impatience. Customers roll a window down on day two because it "looks dry," not realizing the adhesive underneath is nowhere near finished bonding. That single motion can drag film against a gasket edge that hasn't set yet.
Our priority in the first week isn't cosmetic, it's structural. We'd rather you wait an extra day than force a redo. Two habits fix most problems before they start: leave windows completely alone for 48 hours, and resist wiping "just the inside" of the glass before day three. Patience here is cheaper than a second appointment.
— Jose
Get a Professional Install That Cures Right the First Time
Professional installers use premium film brands such as 3M Ceramic IR, 3M Crystalline, 3M Color Stable, or Iviron KoolMax ceramic, applied with edge sealing and venting techniques built specifically to avoid the trapped-moisture issues that cause silvering and slow cures.

When you book, ask about film brand, warranty coverage, and cure guidance for your specific climate, all fair questions, and ones we answer clearly before your appointment. With mobile window tinting services, there's no shop drop-off and no rearranging your week around someone else's schedule. If you're weighing options against a hot Miami afternoon and a humid garage, a professional installer can walk you through what your specific cure timeline will look like before the film ever touches your glass. Start with our ceramic mobile tint installation page to check pricing and get a quote for your vehicle.