
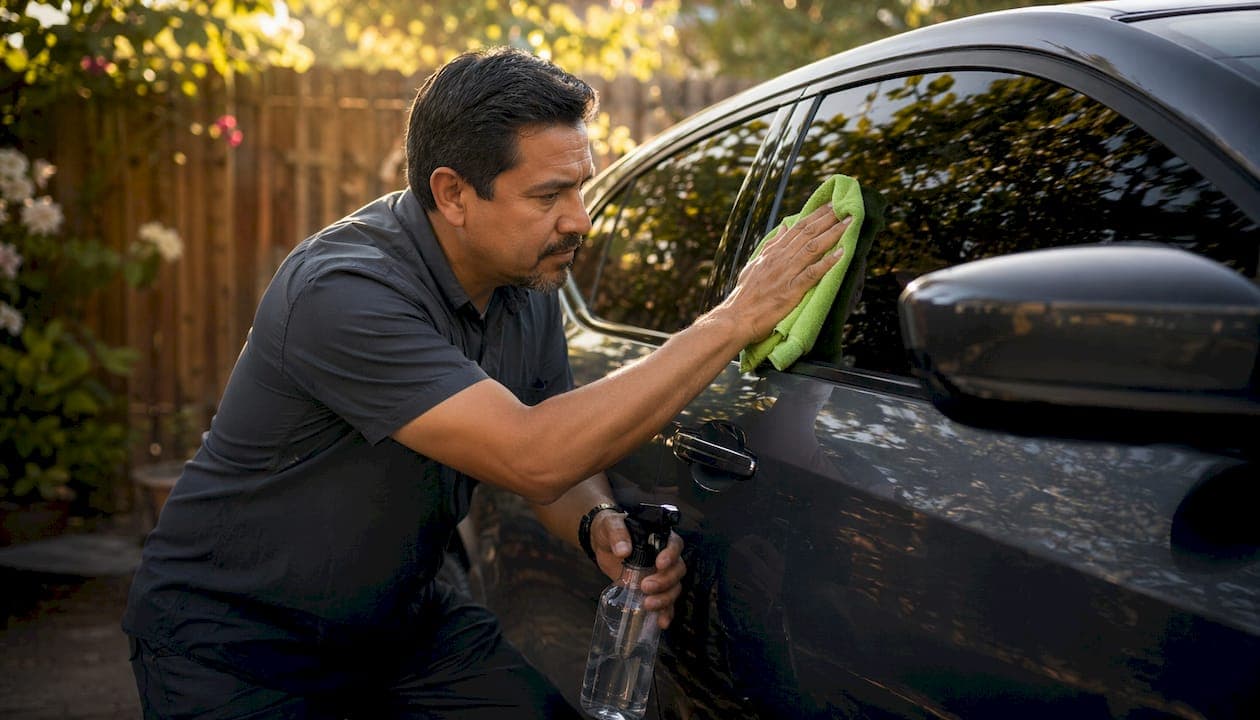
Step by step window film care is the methodical process of cleaning and handling your car's window film to preserve its clarity, performance, and lifespan. Most car owners treat window film like regular glass. That mistake is the single biggest reason films fail early. Improper cleaning is the leading cause of premature film failure, not normal wear and tear. The right approach starts the moment installation ends, and it follows a clear sequence every time you clean. This guide gives you that sequence, along with the supplies, techniques, and troubleshooting knowledge to protect your investment for years.
What does step by step window film care actually involve?
Window film care is a structured maintenance practice built around two phases: the curing period immediately after installation, and the ongoing cleaning routine that follows. Both phases require specific actions and specific restraints. Skipping either phase shortens the film's life significantly. Films like 3M IR, 3M Color Stable, and Iviron Kollmax ceramic tint installed by Southmiamitint are engineered for durability, but that durability depends on how you treat the film after it goes on.
The industry term for this practice is "window film maintenance," and it covers everything from the first 72 hours post-installation to seasonal inspections years later. Car owners who follow a consistent window film maintenance guide report fewer bubbles, less edge lifting, and better optical clarity over time. The process is not complicated, but it is specific.
How long does automotive window film need to cure?
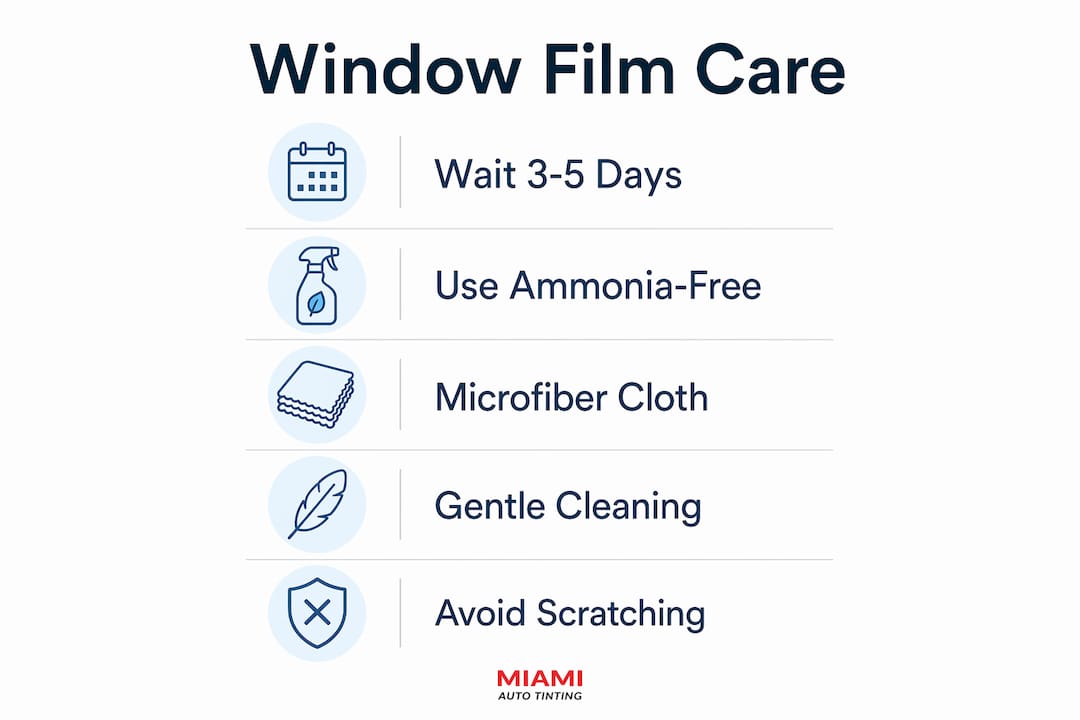
Automotive window film requires a curing period of 3–5 days before you clean it or roll down your windows. Residential film takes about 30 days. That difference matters because car owners often assume film is ready to handle the same day it goes on.
During those 3–5 days, the adhesive bonds to the glass. You will likely see haze, small moisture pockets, or slight distortion. These curing marks are normal and resolve on their own. Do not press, pick, or wipe them. Touching them causes permanent damage that no amount of cleaning will fix.
Several factors affect how quickly the film cures:
- Temperature: Warmer conditions speed up the adhesive bonding process.
- Humidity: High humidity can slow curing and extend the window of vulnerability.
- Film type: Thicker, multi-layer films like ceramic tints may take the full 5 days.
- Sun exposure: Parking in direct sunlight during curing can actually help the process along.
- Ventilation: Avoid rolling windows down during the entire curing window, even partially.
Pro Tip: Park your car in a warm, sunny spot during the curing period. Gentle heat accelerates adhesive bonding without stressing the film.
What supplies do you need for safe window film cleaning?
The right supplies make the difference between a film that lasts 15 years and one that fails in two. Ammonia-based cleaners cause film haze, bubbling, or peeling. Ammonia degrades both the adhesive layer and the protective coating on the film's surface. Every product you use must be ammonia-free.
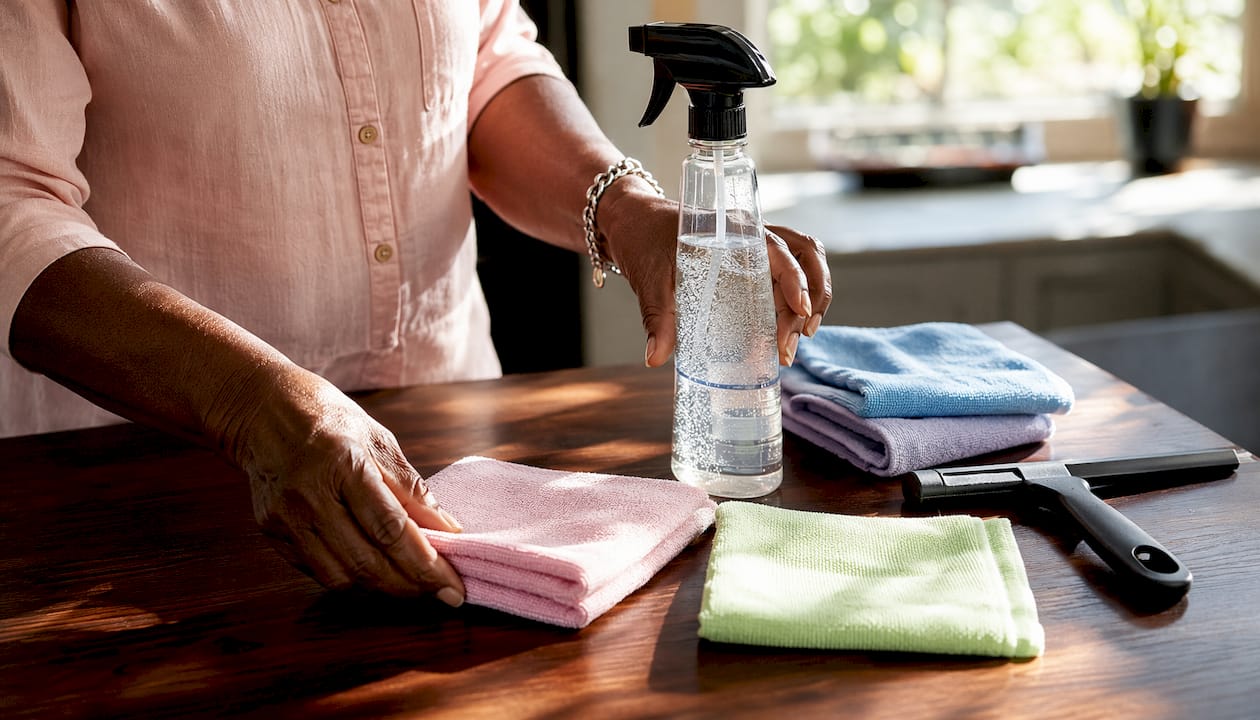
Here is what belongs in your cleaning kit:
- Ammonia-free glass cleaner or a few drops of mild dish soap in water
- Microfiber cloths (at least two: one for applying solution, one for drying)
- Soft rubber squeegee for removing excess moisture
- Spray bottle for mixing and applying your solution
And here is what must stay out of your kit:
- Paper towels (abrasive enough to cause micro-scratches over time)
- Scouring pads or rough sponges
- Ammonia-based cleaners like many standard glass sprays
- Sharp tools or scrapers of any kind
| Tool | Purpose | What to avoid |
|---|---|---|
| Microfiber cloth | Applying solution and drying | Paper towels, rough rags |
| Ammonia-free cleaner | Dissolving dirt and fingerprints | Any cleaner with ammonia |
| Rubber squeegee | Removing excess moisture | Hard plastic or metal edges |
| Spray bottle | Controlled solution application | Spraying directly on film edges |
Paper towels cause micro-scratches despite feeling soft. Those scratches accumulate over dozens of cleanings and permanently cloud the film. Microfiber is the only cloth type that cleans without abrading the surface.
Pro Tip: Label a set of microfiber cloths specifically for window film. Never use them for anything else. Cross-contamination from engine grease or wheel cleaner residue will transfer directly onto your film.
How do you clean automotive window film correctly?
This is the core of any window film cleaning method. Follow these steps every time, in this order.
-
Confirm the curing period has passed. Do not clean the film until at least 3–5 days after installation. If you are unsure, wait the full 5 days.
-
Mix your cleaning solution. Add a few drops of mild dish soap to a spray bottle of water, or use an ammonia-free glass cleaner. Shake gently.
-
Spray the solution onto your microfiber cloth, not onto the glass. Spraying directly onto the film risks moisture seeping behind the edges, which breaks down the adhesive bond over time. A damp cloth gives you full control.
-
Wipe the film surface in straight, overlapping strokes. Work from top to bottom. Do not scrub in circles. Circular motion concentrates pressure on one spot and stresses the film coating. Gentle wiping removes fingerprints and dust without damaging the scratch-resistant layer.
-
Use a clean rubber squeegee or dry microfiber cloth to remove excess moisture. Work from top to bottom again. Overlap each pass by about an inch to avoid streaks.
-
Wipe the edges carefully with a barely damp cloth. Edges are the most vulnerable part of the film. Excess moisture at the edges is the most common cause of edge lifting. Use a nearly dry cloth for this step only.
Common mistakes to avoid during cleaning:
- Rubbing too hard in one spot
- Using a wet cloth on the edges
- Cleaning immediately after installation
- Spraying solution directly onto the film
- Using any product that contains ammonia
Pro Tip: Remove rings and jewelry before cleaning your windows. A stone-set ring dragged across film leaves a scratch that cannot be repaired.
What causes window film to fail, and how do you fix it?
Recognizing early signs of film failure lets you act before the damage becomes permanent. The most common warning signs are:
- Haze or cloudiness that does not clear after the curing period ends
- Bubbling that appears weeks or months after installation
- Edge lifting where the film peels away from the glass at corners or seams
- Purple or color-shifted tint indicating UV degradation of dye-based films
Each of these problems has a specific cause. Haze and bubbling after curing usually trace back to ammonia exposure or abrasive cleaning. Edge lifting almost always results from moisture seeping behind the film during cleaning. Color shifting happens with lower-grade dye films exposed to prolonged UV without protection.
Stubborn dirt and bird droppings require a specific approach. Do not scrape or pressure wash the film surface. Forceful removal causes permanent tears. Instead, soak the area with your ammonia-free solution for 30–60 seconds to soften the debris, then wipe gently with a microfiber cloth. Repeat if needed. Patience here prevents a $5 cleaning problem from becoming a $300 refilm job.
If you notice edge lifting or persistent bubbling that does not resolve, contact a professional installer. Attempting to re-adhere lifted edges with household adhesives will void your warranty and usually makes the problem worse. Southmiamitint's team can assess whether a repair or replacement is the right call. For more on what causes film damage after installation, the common tinting installation issues guide covers the most frequent problems and their fixes.
How do you maintain window film long term?
Clean your car's window film every 1–3 months. Cleaning frequency of 1–3 months keeps the film free of buildup without over-cleaning. Cars in Miami's coastal environment face accelerated UV exposure, salt air, and humidity, all of which stress film faster than in drier climates. Adjust your schedule toward monthly cleaning if you park outdoors regularly.
Seasonal care requires a few specific habits:
- Summer: Park in shade or use a windshield sunshade to reduce heat stress on the adhesive layer. UV exposure in South Florida is intense enough to accelerate film aging without protection.
- Rainy season: Inspect edges after heavy rain. Water intrusion at edges is more likely when seals are stressed by temperature swings.
- Dry season: Dust accumulates faster. Increase cleaning frequency slightly and always pre-rinse the glass with water before wiping to avoid dragging grit across the film.
- Year-round: Do a quarterly edge inspection. Run a clean finger along each edge and feel for any lifting or separation.
Advanced films like ceramic tints and smart window films require consistent, non-abrasive maintenance to preserve their multi-layer construction and keep the warranty valid. Failing to follow manufacturer-recommended protocols can void coverage entirely. Keep a simple log of your cleaning dates and any issues you notice. That record is useful if you ever need to make a warranty claim.
For car owners in coastal environments, the UV and heat guide for coastal areas explains how salt air and intense sun affect film longevity and what extra steps protect your investment. Automotive detailing resources from partners like AMB Pro Detailing also offer practical care tips that complement a solid window film routine.
Key Takeaways
Proper window film care requires ammonia-free products, a 3–5 day curing wait, and gentle microfiber cleaning every 1–3 months to prevent premature failure and preserve film clarity.
| Point | Details |
|---|---|
| Respect the curing period | Wait 3–5 days after installation before cleaning or rolling windows down. |
| Use ammonia-free products only | Ammonia degrades adhesive and coatings, causing haze, bubbling, and peeling. |
| Spray solution on the cloth | Applying solution to the cloth prevents moisture from seeping behind film edges. |
| Clean every 1–3 months | Regular, gentle cleaning prevents buildup without stressing the film surface. |
| Contact a professional for damage | Persistent bubbling or edge lifting needs expert assessment, not DIY adhesive fixes. |
What I've learned from watching car owners care for their tint
The single most overlooked part of window film maintenance is patience. Car owners who damage their film almost always do it in the first week. They roll the window down on day two, or they grab a paper towel and spray cleaner on the glass before the adhesive has set. The film looks fine at first. The damage shows up three months later as bubbles or haze, and by then the connection to that early mistake is gone.
The second most common error I see is cleaning too aggressively when the film looks dirty. Scrubbing harder does not clean better. It stresses the coating and eventually scratches through the scratch-resistant layer. A damp microfiber cloth with light pressure removes almost everything. If something does not come off on the first pass, soak it and try again gently.
Professional-grade, ammonia-free products are worth the small price difference. Standard household glass cleaners contain ammonia in most cases. Check the label every time, not just the first time. Film chemistry does not forgive a single exposure to the wrong cleaner.
High-quality ceramic films like 3M IR and Iviron Kollmax are built to last 15–20 years with correct care. That lifespan is not guaranteed by the film alone. It is earned by the owner through consistent, gentle maintenance. Keep your records, inspect your edges quarterly, and treat the film like the precision product it is.
— Jose
Professional window tinting that makes care easier from day one

A film that is installed correctly is far easier to maintain. Southmiamitint installs 3M IR, 3M Color Stable, and Iviron Kollmax ceramic tint on cars across Miami-Dade, and every job is done mobile, at your location. Professional installation means proper edge sealing, correct adhesive application, and a clean cure from the start. That foundation makes every cleaning session after it simpler and safer.
If you are ready to protect your car with a film that is built to last, explore Southmiamitint's ceramic window tint service or check out the full range of 3M window tint options available for Miami drivers. Contact Southmiamitint to book a consultation and get your installation done right.
FAQ
How long after tinting can I clean my car windows?
Wait at least 3–5 days after automotive window film installation before cleaning. Cleaning earlier risks disrupting the adhesive bond before it fully sets.
What cleaner is safe to use on window tint?
Use an ammonia-free glass cleaner or a mild dish soap solution. Ammonia-based cleaners degrade the film adhesive and protective coating, causing haze and bubbling.
Can I use paper towels to clean window film?
Paper towels cause micro-scratches on window film and should never be used. Microfiber cloths are the only safe option for cleaning tinted glass.
Why is my window tint bubbling after cleaning?
Bubbling after the curing period usually indicates ammonia exposure or moisture seeping behind the film edges. Switch to an ammonia-free cleaner and apply solution to the cloth rather than directly to the glass.
How often should I clean my car's window film?
Clean automotive window film every 1–3 months under normal conditions. Cars parked outdoors in high-UV or coastal environments benefit from monthly cleaning to prevent buildup and UV-accelerated degradation.