
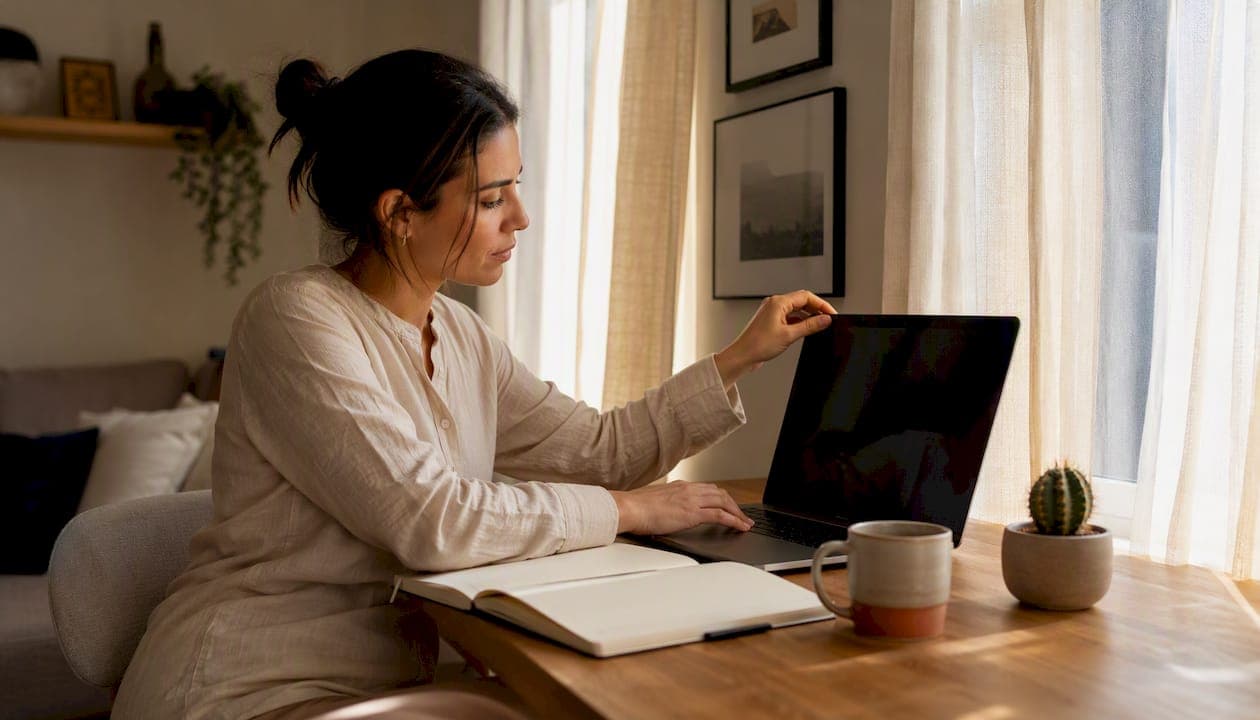
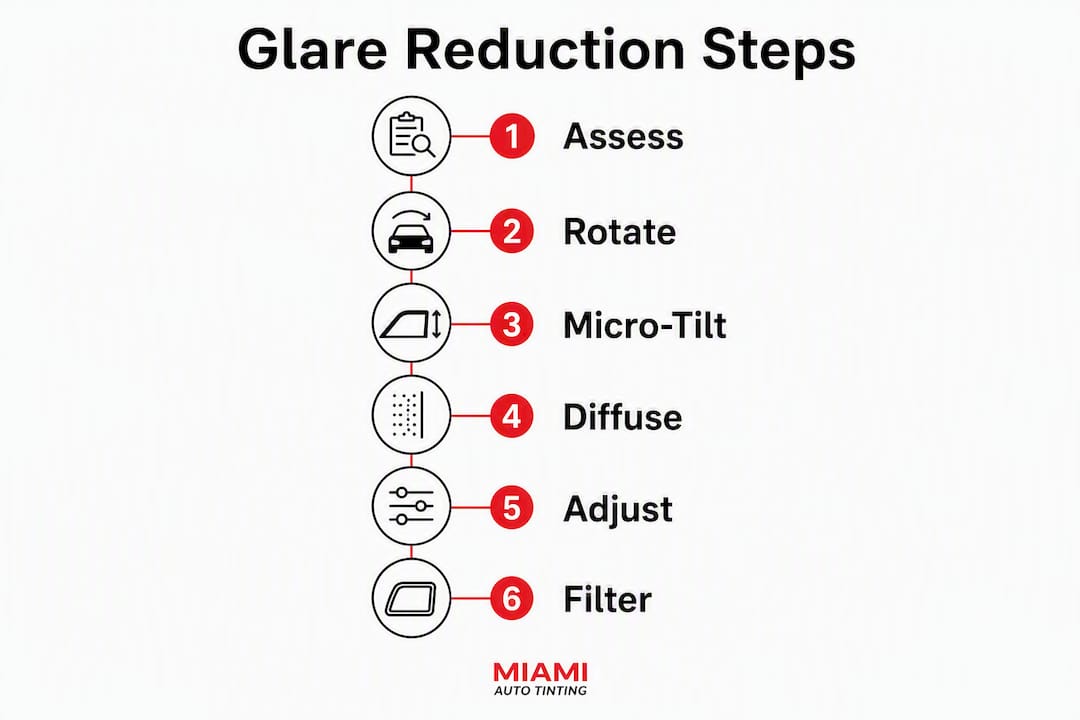
Six steps stop most window and environment glare within minutes. Work through them in order, starting with the fastest zero-cost fixes before spending anything.
Your quick glare reduction checklist:
- Assess — Sit at your normal position during peak glare hours (usually mid-morning or late afternoon). Note exactly what you see reflected: a window, a lamp, a bright wall, or the sky.
- Reposition — Rotate your monitor or TV so it sits perpendicular (90°) to the nearest window. This single geometry change often eliminates specular reflections immediately.
- Micro-tilt — Tilt the top of your screen 5–10° downward. If overhead fixture glare disappears, that was your source. If it stays, the window is the culprit.
- Diffuse — Add a sheer roller shade, light-filtering blind, or diffusing curtain to the problem window. Diffusion scatters harsh beams while keeping daylight in the room.
- Adjust lighting and brightness — Add bias lighting behind your screen (aim for 6500K) and match your display brightness to the room's ambient light. Do not max it out.
- Escalate to film or a pro — If glare persists after steps 1–5, professional window film (ceramic or 3M-grade) or a mobile installer is your most durable fix.
Quick verification: Turn your screen off. If you can still see a bright window or lamp reflected in the black panel, the reflection path is not fixed yet. Repeat from the step that addresses that source.
Table of Contents
- What actually causes glare, and why does it matter?
- How to reduce glare step by step: the full action plan
- Which window treatments and films actually reduce glare?
- Practical lighting and layout changes that stop glare without darkening your room
- When eyewear and screen filters are the right tool
- What does glare reduction actually cost, and how long does it take?
- When should you call a professional installer?
- How room surfaces affect glare and what you can do about it
- Safety and ergonomics: what glare actually does to your body
- Key Takeaways
- What installers actually see on the job
- Southmiamitint brings professional film installation to your door
- Useful sources
What actually causes glare, and why does it matter?
Glare falls into two useful categories, and knowing which one you're dealing with tells you which fix to reach for first.
Specular (reflection) glare happens when a bright source, like a window or a lamp, reflects directly off a shiny surface, like your monitor panel or a glossy desk, straight into your eyes. The angle of incidence equals the angle of reflection, which means small geometry changes (rotating a screen, tilting a blind) produce big results fast.
Veiling (contrast) glare is subtler. A bright background, like a sunlit wall behind your monitor, reduces the contrast between your screen's content and its surroundings. Your eyes strain to read because the display looks washed out, even without a direct reflection.
The same room can produce both at once. A west-facing home office in the afternoon might throw a direct window reflection onto your screen (specular) while a bright white wall behind the monitor washes out the image (veiling). Fixing one without addressing the other leaves you still squinting.
Pro Tip: Before buying anything, run the "Black Mirror test": turn your screen completely off and look at it during peak glare hours. Every bright source you see reflected is a problem you need to fix. This takes 30 seconds and costs nothing.
How to reduce glare step by step: the full action plan
Step 1: Assess and map your glare sources
Sit in your normal working position during the worst glare period of the day. Run the Black Mirror test described above. Write down what you see: a window, a skylight, a ceiling fixture, a lamp, or a bright wall. Note the time, because low-angle morning or afternoon sun behaves differently than midday overhead light.
Move your head slightly left, right, up, and down. Reflections shift with your viewpoint, which helps you trace each one back to its source. A reflection that disappears when you lean left is coming from your right side.
Step 2: Rotate and reposition
Perpendicular monitor placement is the industry-standard baseline for VDT ergonomics and the single highest-leverage fix available. Place your display so windows are to your left or right, never directly in front of or behind you. This eliminates the direct reflection path without spending a dollar.
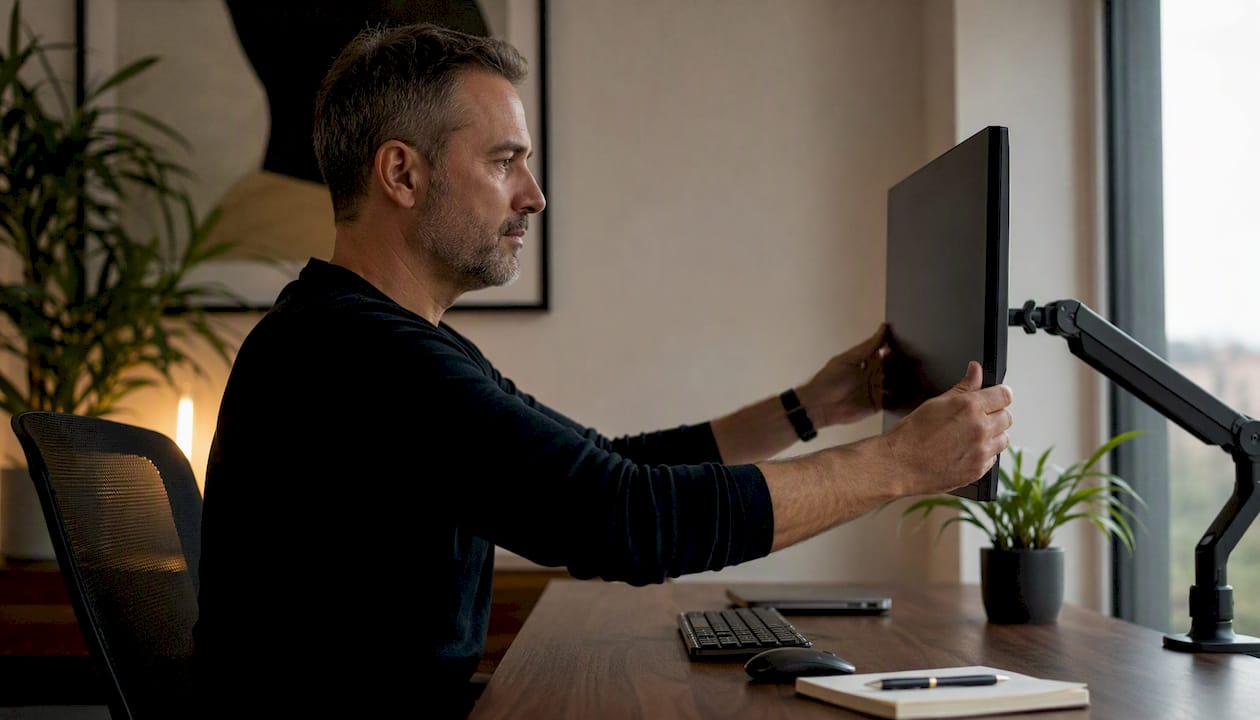
If your desk layout makes a 90° rotation impossible, a monitor arm or swivel mount gives you the flexibility to angle the screen without rearranging the whole room.
Step 3: Run the micro-tilt test
Tilt the top of your monitor 5–10° downward and observe what changes. If overhead fixture glare disappears, ceiling lights were the source. If glare stays or shifts, the window is the primary culprit. This test costs nothing and takes under a minute. It also isolates the problem so you don't waste money treating the wrong source.
Step 4: Diffuse the window
Once you know the window is the source, add a diffusing treatment before anything else. Sheer roller shades, light-filtering cellular shades, and translucent blinds scatter direct sunbeams while preserving natural light. For west-facing windows that catch intense afternoon sun, shade openness of 1–3% gives strong control. North-facing windows need far less blocking, so a 7–10% openness fabric works well there.
Step 5: Adjust your lighting and display settings
Match your screen brightness to the room's ambient light level. Maxing brightness to fight glare is counterproductive and increases eye strain. Add a low-intensity LED strip behind your monitor set to roughly 6500K. This bias lighting reduces the contrast between the bright screen and the dark wall behind it, which is where much of the fatigue comes from.
For TVs, switch from "Vivid" or "Dynamic" picture mode to "Movie," "Cinema," or "Custom" mode. These modes lower peak brightness and reduce the washed-out look caused by ambient light.
Step 6: Add filters or escalate to film
If steps 1–5 don't fully resolve the problem, a matte screen protector or monitor hood can help at the device level. For windows, professional-grade film is the most durable solution. See the window treatments section below for specific product guidance.
Pro Tip: Bias lighting works best in the evening. During the day, it has minimal effect on glare from windows. Use it as a complement to window diffusion, not a replacement.
Troubleshooting table
| Symptom | Likely cause | First action | If not fixed |
|---|---|---|---|
| Bright spot on screen, moves when you move | Specular window reflection | Rotate screen 90° to window | Add diffusing shade or window film |
| Screen looks washed out, no clear reflection | Veiling glare from bright background | Reduce wall brightness behind screen | Repaint wall a mid-tone matte color |
| Glare disappears when you tilt screen down | Overhead fixture reflection | Tilt monitor 5–10° downward | Reposition or diffuse ceiling fixture |
| Glare only at specific times of day | Low-angle sun through window | Add 1–3% openness shade for that window | Schedule motorized shade for peak hours |
| Glare persists after all adjustments | Multiple sources or large glazing area | Layer diffusion + 90° placement + bias lighting | Call a professional installer for film |
Which window treatments and films actually reduce glare?
Why diffusion beats blackout
Diffusing blinds and sheer shades outperform blackout options for daily comfort because they scatter harsh beams without eliminating daylight. Blackout solutions work for home theaters or night-shift workers, but most people working or relaxing at home want natural light. A diffusing treatment gives you both.
Film options worth knowing
When treatments alone aren't enough, window film adds a permanent layer of glare and heat control. Four products come up consistently in professional installs:
- 3M Window Films (general line): A broad range covering residential and commercial applications, with options for different VLT levels and heat rejection needs. Good entry point for standard glazing.
- 3M Ceramic IR: Ceramic-based film that rejects infrared heat without the metallic look. Maintains clear views and high UV rejection while reducing glare. Strong choice for homes and vehicles where visibility matters.
- 3M Crystalline: 3M's premium multi-layer film, designed for maximum heat rejection at higher VLT levels. Useful when you want to keep the window looking nearly clear while still blocking solar energy and glare.
- Iviron KoolMax: A ceramic tint option known for heat rejection and color stability. Southmiamitint carries this alongside the 3M line, making it a practical choice for Miami-area installs where intense sun is a year-round issue.
Specs to check before buying or quoting
- VLT (visible light transmission): The percentage of visible light the film allows through. Lower VLT means darker film and more glare control, but less natural light. Residential installs typically use a moderate range of visible light transmission (VLT) levels; automotive installs vary by state law.
- UV rejection: Quality films reject 99% of UV-A and UV-B rays, which protects both occupants and furnishings.
- Heat rejection (TSER or IRR): Total solar energy rejected or infrared rejection rate. Ceramic films like 3M Ceramic IR and Iviron KoolMax score well here.
DIY vs. professional installation
- DIY film kits cost less upfront and work on flat, standard windows. The trade-off is bubbling, peeling edges, and no warranty if the application goes wrong.
- Professional installation costs more but delivers a clean, bubble-free result with a manufacturer-backed warranty. A mobile installer comes to your location, measures on-site, and handles the full process. For large windows, curved glass, or multi-pane units, professional installation is the practical choice.
Practical lighting and layout changes that stop glare without darkening your room
The 90-degree rule for monitors and TVs
Place your display so it sits perpendicular to the nearest window. This is the OSHA/VDT ergonomics baseline for workstation setup, and it works because it removes the direct line between the bright window and the reflective screen surface. You're not blocking the light; you're changing the geometry so the light never hits the screen at a reflective angle.
For TVs, a swivel wall mount lets you angle the screen away from a window without moving furniture. If you can see the window reflected in the TV when it's off, the screen needs to rotate or the window needs treatment.
Bias lighting
A low-intensity LED strip behind your monitor, set to approximately 6500K, reduces contrast fatigue by raising the ambient brightness around the screen. Your eyes don't have to work as hard switching between a bright display and a dark wall. This is most effective in the evening; during daylight hours, window diffusion does more.
Pro Tip: Bias lighting at 6500K matches the white point of most modern displays. A warmer strip (2700–3000K) will look yellow against the screen and actually increase perceived contrast stress rather than reducing it.
Asymmetrical and downward lighting
Deep-recessed luminaires, snoots, and honeycomb filters direct light downward and away from direct sightlines, which is why they appear in commercial and architectural installs. For home offices, the practical version is to:
- Replace bare-bulb ceiling fixtures with recessed or directional downlights
- Aim desk lamps at your work surface, not at your screen
- Move floor lamps so they sit outside the reflection cone of your monitor (use the Black Mirror test to check)
Monitor and TV settings checklist
- Switch picture mode from "Vivid" or "Dynamic" to "Movie," "Cinema," or "Custom"
- Set brightness to match the room, not to maximum
- Increase contrast slightly if the room is bright; reduce it in dim conditions
- Enable auto-brightness if your display supports it, as a starting point only
- For OLED TVs, reduce the OLED Light or Pixel Luminance setting during daytime use
When eyewear and screen filters are the right tool
Anti-reflective coatings on glasses
Anti-reflective (AR) coatings reduce the light that bounces off lens surfaces, which cuts reflections that reach your eyes from behind and beside you. They're most useful when glare comes from multiple directions that geometry changes can't address. AR coatings can be added to new lenses during fabrication; adding them to existing lenses is generally not possible because the process requires a factory coating applied before the lens is finished.
Polarized lenses indoors
Polarized lenses block horizontally polarized light, which makes them excellent for outdoor glare from water or roads. Indoors, their benefit is more limited. They can reduce glare from flat horizontal surfaces like desks and floors, but they may make LCD screens look darker or show a rainbow pattern at certain angles. They're a reasonable choice for bright indoor environments with large windows, but not a substitute for geometry and diffusion fixes.
Matte screen protectors and monitor hoods
- Matte screen protectors scatter reflected light, which reduces specular glare. The trade-off is a slight reduction in image sharpness and color vibrancy. They work best on glossy panels in bright rooms.
- Monitor hoods (like those used in photo editing) block overhead and side light from reaching the screen. They're effective but bulky, and they work best when the primary glare source is overhead lighting rather than windows.
Both are last-resort options. Fix geometry and window light first; reach for these only when those steps leave residual glare.
What does glare reduction actually cost, and how long does it take?
| Solution | Typical cost range | Time to effect |
|---|---|---|
| Reposition monitor/desk | — | Minutes |
| Micro-tilt adjustment | — | Minutes |
| Adjust display settings | — | Minutes |
| Bias lighting (LED strip) | — | Under 1 hour |
| Sheer/diffusing roller shade | — | 1–2 hours (DIY install) |
| Cellular or blackout blind | — | 1–3 hours (DIY install) |
| Matte screen protector | — | Minutes |
| DIY window film kit | — | 2–4 hours (skill-dependent) |
| Professional window film install | Varies by film grade and window count; mobile ceramic installs start at $249 for vehicles | Same-day appointment |
| Anti-reflective lens coating | — | Available at next lens order |
A few notes on pricing shape: VLT level, film grade (ceramic vs. dyed), and window size all affect professional install quotes. Ceramic films like 3M Ceramic IR and Iviron KoolMax cost more than dyed or carbon films, but they hold their color and performance longer. Manufacturer warranties on professional installs typically cover bubbling, peeling, and color shift for the film's rated life, which adds real value over DIY kits that carry no such coverage.
The fastest, cheapest fixes (repositioning, micro-tilt, display settings) take minutes and cost nothing. Most people who work through the full checklist find that the initial steps alone resolve the majority of their glare problem before they spend anything.
When should you call a professional installer?
Some glare problems genuinely require a pro. Here's a clear checklist to help you decide.
Hire a professional when:
- Your windows are large, floor-to-ceiling, or span multiple panes
- You have specialty glass (tempered, laminated, curved, or tinted from the factory)
- Low-angle sun hits your space at specific times and no blind or shade position fully blocks it
- You want to preserve the view and reduce heat at the same time (film does both; blackout blinds do neither)
- You need a manufacturer warranty on the installation
- You're treating a commercial space where appearance and durability standards are higher
- You've worked through the full checklist and glare persists
What to expect from a professional install:
- On-site measurement of each window's dimensions and orientation
- Film selection consultation (VLT, ceramic vs. dyed, heat rejection specs)
- Surface preparation and cleaning
- Film application with professional tools (no bubbles, clean edges)
- Care instructions and warranty documentation
Questions to ask before booking:
- What film brand and series will you install?
- What is the VLT, UV rejection, and heat rejection rating for that film?
- Does the film carry a manufacturer warranty, and what does it cover?
- Do you offer mobile installation (on-site at my home or business)?
- How long does the install take, and what's the curing period before I can clean the windows?
A mobile installer removes the logistical friction entirely. They come to your location, bring the film and tools, and complete the job in a single visit. For Miami-area homes and vehicles where intense year-round sun makes glare a persistent problem, a ceramic window film install from a mobile pro is often the most efficient path from problem to solved.
How room surfaces affect glare and what you can do about it
Walls, ceilings, and floors play a larger role in glare than most people realize. Technical lighting design guidelines flag uncontrolled surface luminance as a significant contributor to discomfort glare, particularly when bright daylight openings sit next to high-reflectance surfaces.
Walls: Glossy or semi-gloss white paint reflects light strongly. A bright wall directly behind your monitor creates veiling glare by raising the luminance of the background behind the screen. Repainting with a matte or eggshell finish in a mid-tone color (light gray, warm beige, soft sage) reduces that background brightness without making the room feel dark. The goal is a surface reflectance that's lower than the window but not so dark it creates harsh contrast.
Ceilings: White ceilings are standard and generally fine, but a very high-gloss ceiling in a room with skylights or clerestory windows can bounce light downward at angles that hit screens. A flat white or matte ceiling finish is preferable in rooms with overhead glazing.
Floors: Polished hardwood, tile, and light-colored concrete reflect upward light that can contribute to glare on screens positioned at lower heights. Area rugs with a matte texture absorb that upward bounce. This is a minor contributor compared to windows and overhead fixtures, but worth addressing in rooms where other fixes haven't fully resolved the problem.
Practical evaluation steps:
- Hold a piece of white paper next to each major surface and compare its brightness to the window during peak glare hours. Surfaces that look nearly as bright as the window are contributing to veiling glare.
- Check wall finishes behind and beside your screen first; these have the most direct impact on perceived contrast.
- If repainting isn't an option, large matte-finish wall art, fabric panels, or bookshelves can reduce reflectance on a specific wall without a full repaint.
Safety and ergonomics: what glare actually does to your body
Glare isn't just annoying. Sustained exposure to uncontrolled glare causes measurable physical effects that compound over a workday.
Eye strain and fatigue: Your eyes constantly adjust pupil size and focus when brightness varies across your visual field. A bright window next to a dim screen forces continuous micro-adjustments that tire the ciliary muscles. Symptoms include dry eyes, blurred vision, and headaches, particularly at the end of the day.
Posture problems: People instinctively lean forward, tilt their heads, or shift sideways to avoid glare. These compensatory postures strain the neck, shoulders, and lower back. Fixing the glare source often resolves posture complaints that seemed unrelated.
Safety in vehicles: Glare from the sun or oncoming headlights is a recognized driving hazard. Automotive window film reduces solar glare through side and rear windows, which is one reason ceramic tint is popular for vehicles in high-sun markets like Miami-Dade.
Safe installation practices:
- When installing DIY window film, work in a clean, dust-free environment. Debris trapped under film creates bubbles that reduce optical clarity.
- Never apply film to cracked or damaged glass. Heat absorption from film can stress compromised glass further.
- For professional installs, confirm the installer checks for existing glass damage before applying film.
- Anti-reflective coatings on eyewear should be applied by a licensed optician to meet optical clarity standards.
Ergonomics guidelines recommend addressing glare as part of a complete workstation setup, not as an afterthought. The geometry fixes (90° placement, micro-tilt) are the ergonomic baseline; window treatments and film are the durable layer that makes that baseline sustainable throughout the day.
Key Takeaways
A layered approach, starting with geometry and ending with professional film if needed, resolves most glare problems faster and cheaper than any single product purchase.
| Point | Details |
|---|---|
| Start with geometry | Rotate your display 90° to the window and micro-tilt 5–10° down before buying anything. |
| Diffuse, don't block | Sheer or light-filtering shades preserve daylight while eliminating harsh specular beams. |
| Match brightness to the room | Setting display brightness to match ambient light reduces strain more than maxing it out. |
| Verify with the Black Mirror test | Turn the screen off during peak glare hours; every reflection you see is a source to fix. |
| Southmiamitint for durable film installs | When checklist fixes aren't enough, Southmiamitint provides mobile ceramic and 3M film installation across Miami-Dade. |
What installers actually see on the job
The checklist in this guide covers the right steps in the right order. What surprises most people is how rarely they need to reach the end of it. On a typical residential visit, the geometry problem is obvious within the first few minutes: a monitor facing a west-facing window, a TV mounted directly across from sliding glass doors, a desk positioned so the afternoon sun hits the screen at a 45° angle. Moving the display or adding a single diffusing shade resolves it.
Where professional film earns its place is in the cases geometry can't fix: large glazing areas where no practical furniture arrangement removes the reflection path, or south- and west-facing rooms in Miami where the sun is intense enough that even a good diffusing shade leaves residual heat and glare for several hours a day. Ceramic films like 3M Ceramic IR and Iviron KoolMax handle both problems simultaneously, which is why they're the most common recommendation for Miami-Dade homes and vehicles. The climate here doesn't give you a season off from solar glare.
The other pattern worth noting: people often treat glare as a screen problem when it's a room problem. Repainting a bright white wall behind a monitor, switching to a matte ceiling finish, or adding a rug to a reflective tile floor can do as much as a new monitor or screen protector. The room is the system; the screen is just where the symptom shows up.
Southmiamitint brings professional film installation to your door
If you've worked through the checklist and persistent glare is still affecting your comfort, professional window film is the most durable fix available. Southmiamitint provides mobile ceramic tint installation for cars, SUVs, trucks, and select residential and commercial properties across Miami-Dade County, with no need to drop off your vehicle or arrange a shop visit.

What the service includes:
- On-site measurement and film selection consultation
- Installation of 3M Ceramic IR, 3M Crystalline, 3M Color Stable, or Iviron KoolMax ceramic film
- Professional application with warranty and care guidance included
- Mobile service at your home, office, or parking location
Ceramic and 3M-grade films reject UV rays, reduce heat, and cut glare without the dark, opaque look of older dyed films. For Miami's year-round sun, that combination of performance and clarity is hard to beat with any DIY alternative.
Get a quote or schedule your mobile install at southmiamitint.com.
Useful sources
- Reduce computer screen glare — BlindShades Pro — Shade openness recommendations by window orientation and diffusion vs. blackout trade-offs.
- Glare Management Guidelines for Artificial Lighting — TERI — Technical authority on surface luminance, solar shading, and whole-room glare control.
- Southmiamitint — Ceramic Window Tint Miami — Mobile ceramic film installation details, pricing, and service scope for Miami-Dade.
- 3M Window Tint Miami — Southmiamitint — 3M film options (Ceramic IR, Crystalline, Color Stable) and mobile installation information.