
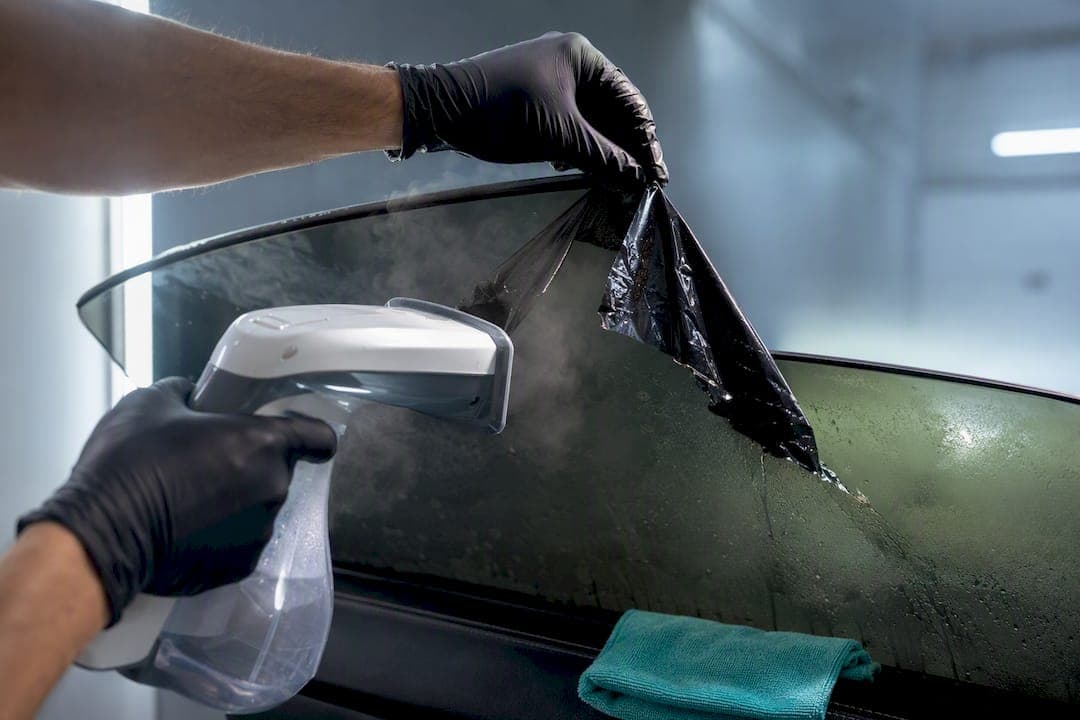
Yes, always remove old window tint before applying new film. Skipping this step guarantees bubbling and haze within weeks. The most reliable approach combines steam to soften the adhesive, a slow careful peel, and a dedicated adhesive remover to clear the residue left behind. Baked-on glue or a cracked rear defroster grid is your signal to call a professional instead of pushing through it yourself.
TL;DR:
- Removing old tint thoroughly ensures better adhesion of new film, preventing bubbling, peeling, and haze within weeks or months.
- Proper tools like steamers, plastic scrapers, and isopropyl alcohol are essential to avoid scratches or damaging defroster grids during removal.
- The removal process can take one to three hours for lightly degraded film and longer if adhesive is baked on or the glass is heavily textured or baked.
- DIY is suitable for fresh or lightly degraded film on side windows, but full rear windshields or baked-on adhesive are better handled by professionals.
- Combining removal and retint in one professional appointment saves time, reduces contamination risk, and typically costs between $100 and $300 depending on the vehicle and film type.
Table of Contents
- Why Removing Old Tint First Matters
- What Tools and Materials Do You Need for Tint Removal?
- How Do You Remove Old Window Tint Step by Step?
- Adhesive Removal Tactics for Tricky Spots
- Common Tint Removal Mistakes and How to Fix Them
- When to DIY and When to Hire a Pro
- How Long Does Tint Removal and Retint Actually Take?
- Skip the Scraping: Book a Mobile Tint Removal and Retint
- Sources
- FAQ
Why Removing Old Tint First Matters
New tint film needs bare, residue-free glass to bond correctly. Adhesive doesn't stick well to old adhesive, and it definitely won't stick evenly over flakes of degraded film still clinging to the window. Shop guidance is consistent on this point: new film applied over old tint fails, usually sooner rather than later.
Think of old tint as a barrier layer. It traps dust, oxidized adhesive residue, and tiny air pockets between the glass and whatever you put on top. That barrier doesn't hold. Here's what shows up once it starts to fail:
- Bubbling as trapped moisture or air works its way out from under the new film
- Peeling at the edges where adhesion was weakest to begin with
- Delamination, where the film separates from its own adhesive layer
- Purple haze, a discoloration that appears as old dye degrades under UV exposure
- Reduced heat and UV rejection, since the film can't perform its job once it's lifting off the glass
These defects rarely show up on day one. Most surface over a few weeks to a few months, and they tend to become obvious at night, when oncoming headlights hit the glass at an angle and expose every bubble and streak you couldn't see in daylight. By the time you notice it, the only fix is stripping everything and starting over. That's an expensive way to learn a lesson you could have avoided in the prep stage.
What Tools and Materials Do You Need for Tint Removal?
Tint removal doesn't require a garage full of specialty gear, but using the wrong tool is how windows get scratched or defroster lines get destroyed. Here's what actually belongs in your kit.
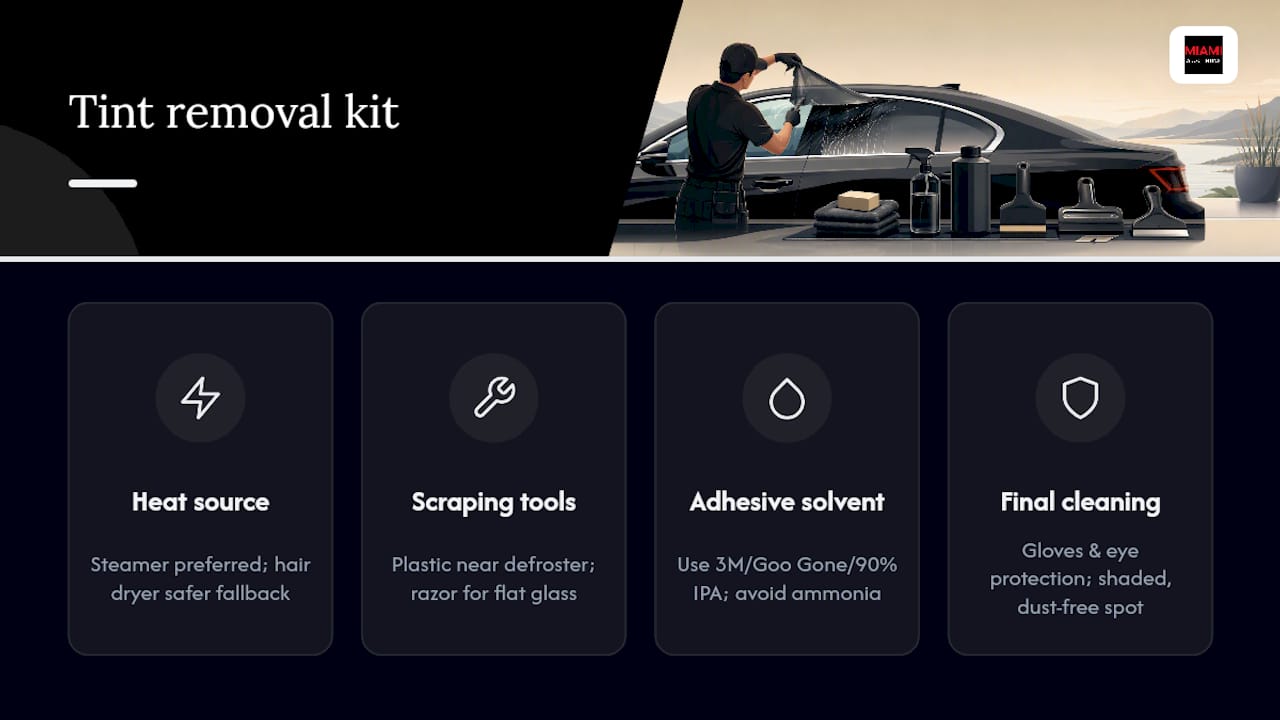
Heat source. A handheld garment steamer is the tool most detailing pros reach for first, because steam softens adhesive evenly across the whole panel instead of creating hot spots. A heat gun works too, but it demands practice. Hold it too long in one spot and you risk cracking the glass or scorching interior trim. A hair dryer is the safest fallback for a small side window, though it's noticeably slower.
Scraping tools. Keep a plastic scraper or an old gift card on hand for anywhere near a rear defroster. For flat side glass without embedded elements, a fresh single-edge razor blade works faster, but only if the blade is sharp and clean. A dull blade drags across the surface instead of cutting cleanly, and that's exactly how scratches happen.
Adhesive solvent. Once the film is off, the sticky residue layer still needs to go. Dedicated 3M adhesive remover, Goo Gone, or 90% isopropyl alcohol all work well. Skip anything oily. WD-40 leaves a residue that interferes with new-film bonding, which defeats the entire purpose of removing the old tint in the first place. Also avoid ammonia-based products near defroster lines, since ammonia can accelerate corrosion on the printed elements over time.
Final cleaning. Ammonia-free glass cleaner and lint-free microfiber towels finish the job. Wear gloves and eye protection, especially when scraping overhead on a windshield, and set up in a shaded, dust-free spot so debris doesn't blow onto tacky adhesive mid-job.
Pro Tip: Keep a second, dry towel next to your cleaning towel. Spray the glass, wipe with the wet towel, then immediately buff dry with the second one. Ammonia-free cleaner that sits and air-dries leaves faint streaks that show up right when new film goes on.
How Do You Remove Old Window Tint Step by Step?
This is the sequence that keeps glass safe and leaves a clean surface for new film, whether you're working on one door panel or a full vehicle.
1. Inspect before you touch anything
Check whether the tint is factory-embedded (some vehicles have privacy glass baked in at manufacture, which isn't removable film at all) versus an aftermarket application. Locate every defroster line and dot-matrix pattern on rear glass, since those areas demand plastic-only tools. Note any existing paint chips or loose trim near the window edges so you don't blame yourself for damage that was already there.
2. Prep the car and your workspace
Roll the windows down about an inch if the vehicle allows it. That lets you work the top edge of the film without fighting the door frame. Cover nearby trim and upholstery with a towel or plastic sheeting, since adhesive remover and stray water can stain fabric. If you're tackling a full rear windshield, grab a second person. A wide rear window is awkward to steam and peel solo.
3. Apply heat evenly
Hold the steamer about two to six inches from the glass and keep it moving in slow, overlapping passes rather than parking it in one spot. Steam's moist, even heat penetrates the film and loosens adhesive more uniformly than a heat gun, which cuts down on tearing later. You'll know the adhesive is releasing when the film starts to bubble slightly at the edge you're working and the corner lifts on its own without much resistance.
4. Peel at a low angle
Lift a corner with a fingernail or a plastic pry tool, then pull at roughly a 15 to 30 degree angle relative to the glass. Keep your heat source moving just ahead of the pull point. The trick is patience. Pull too fast and the film tears, leaving small patches stuck to the glass that are far more annoying to remove than the sheet would have been whole.
5. Clear the adhesive residue
Once the film is off, you're left with a tacky adhesive layer. This second step is not optional: skipping it leaves a haze that's nearly invisible in daylight but glaringly obvious under headlights at night. Spray on your adhesive remover, and for stubborn spots, cover the area with plastic wrap for five to ten minutes to let the solvent soak in. Then work the residue off with a plastic card, or a razor held nearly flat against the glass on flat panels without defroster lines. Wipe, check, and repeat until the glass feels smooth under your palm.
6. Final clean and inspection
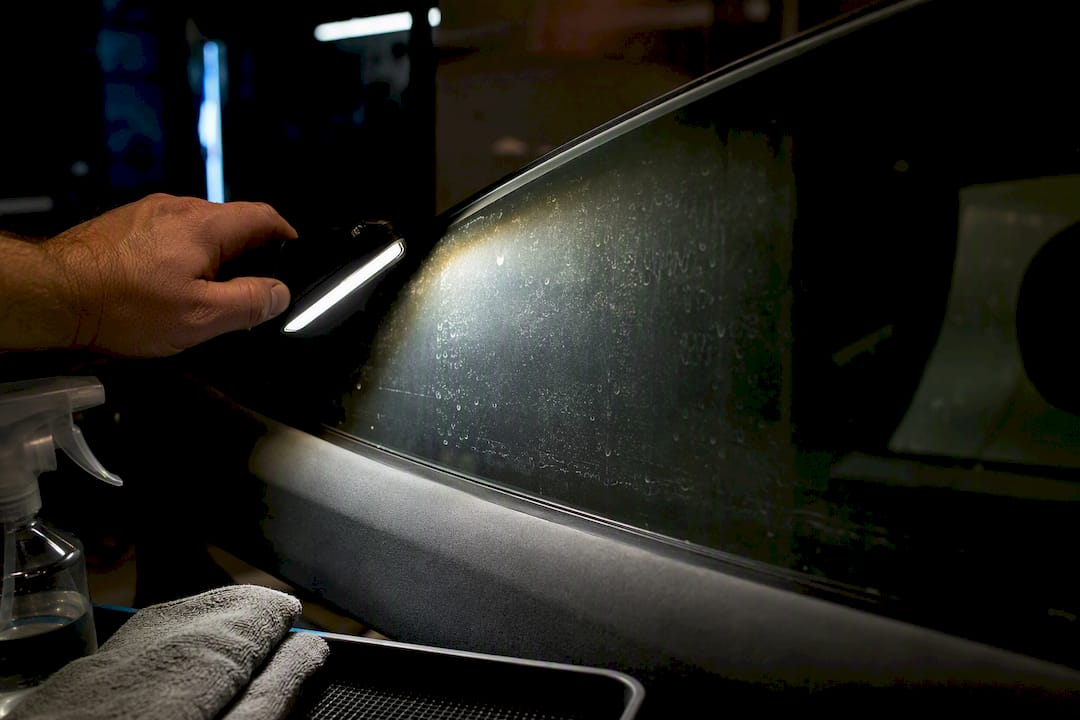
Wash the entire surface with ammonia-free glass cleaner using the two-towel method described earlier. Then check your work under a bright light held at a shallow angle rather than straight-on daylight. This angle reveals microscopic adhesive patches that a normal glance misses entirely, and those leftover spots are exactly where new film will show air pockets first.
A full-vehicle job in fair condition generally runs one to three hours from first steam application to final wipe-down. That's the number to plan your afternoon around if you're doing this yourself.
Adhesive Removal Tactics for Tricky Spots
Some jobs go smoothly with a steamer and a plastic scraper. Others fight you the entire way, particularly on older vehicles where the adhesive has essentially baked onto the glass after years of Florida sun exposure.
For baked-on adhesive, skip straight to the soak method. Spray solvent generously, cover with plastic wrap, and let it dwell for ten to fifteen minutes instead of the shorter soak you'd use on fresher glue. Then scrape gently with a plastic tool and repeat the cycle. Rushing this step just smears the softened glue around instead of lifting it.
Rear windows deserve extra caution because of the defroster grid running across the glass. Work in horizontal passes that follow the direction of the lines rather than scraping up and down across them. Aggressive scraping or concentrated heat can lift the printed grid right off the glass, and replacing a defroster grid is a far more expensive repair than the retint job you started out doing.
A metal razor blade is only appropriate on large, flat side windows that are completely free of defroster lines or dot-matrix patterning, and even then it should be held nearly flat against the glass. Never run a metal blade across a rear windshield.
- Use plastic scrapers exclusively near any printed defroster line
- Reserve metal razors for flat side glass, held at a shallow angle
- Soak stubborn glue under plastic wrap before scraping again
- Check for haze under angled light, not straight-on daylight
Pro Tip: If you still see a faint shadow after two full solvent cycles, don't add more pressure to your scraper. Add more soak time instead. Pressing harder on residue that hasn't fully softened is how fine scratches happen.
Common Tint Removal Mistakes and How to Fix Them
Most DIY tint removal problems trace back to a handful of repeat offenders. Knowing them ahead of time saves you a scratched window or a cracked defroster line.
- Using WD-40 or other oily lubricants. It loosens adhesive short term but leaves a residue that keeps new film from bonding properly. Stick to isopropyl alcohol or a dedicated adhesive remover instead.
- Pulling the film too fast. Rushed peeling tears the sheet and scatters small stuck patches across the glass, multiplying your scraping work.
- Holding a heat gun in one spot. Concentrated heat can crack glass or warp interior trim near the window frame. Keep it moving.
- Working with a dull blade. A worn edge drags instead of slicing cleanly, and dragging is what leaves fine scratch lines in the glass.
If you do end up with light scratches, stop scraping immediately and assess how deep they run. Shallow surface marks sometimes buff out with a glass polishing compound. Anything you can catch a fingernail on needs a professional's evaluation, since deep scoring can weaken the glass itself.
If a defroster line stops working after your removal attempt, test it right away with the engine running so you know exactly what happened before you start any other work. Document the damage with photos for a repair estimate, and resist the urge to patch it yourself with conductive paint pens. Amateur defroster repairs rarely hold up, and a professional replacement often costs more than the retint job would have in the first place.
When to DIY and When to Hire a Pro
DIY tint removal makes sense for film that's fresh or only lightly degraded, and for side windows without a defroster grid running through them. Budget a few hours per vehicle, gather the right tools ahead of time, and you'll come out fine on a sedan or coupe with straightforward glass.
Where I draw the line is baked-on adhesive, full rear windshields with defroster grids, and anything on a high-value vehicle where a mistake is expensive to undo. If you want a same-day retint without a multi-day gap between pulling old film and applying new film, that's also a job for a shop rather than a weekend project. Every hour your bare glass sits exposed is another hour for dust and fingerprints to settle into a surface that needs to be spotless.
Professional shops prepare for this differently than a driveway job. A clean, enclosed bay keeps dust off tacky glass. Commercial-grade steamers cover more surface area faster than a handheld garment steamer. A trained tech inspects every defroster line and dot-matrix pattern before touching a blade near it, and most shops back the work with some form of warranty on the install. Bundling removal with the retint in one appointment also reduces the contamination risk that comes from letting stripped glass sit exposed between steps, and it's often more cost-effective than paying for two separate appointments.
If you're leaning toward a mobile install after your own removal attempt goes sideways, our case study on a full vehicle retint walks through what a shop-managed removal and reinstall actually looks like from start to finish.
— Jose
How Long Does Tint Removal and Retint Actually Take?
A full vehicle in fair condition typically takes one to three hours to strip. Film that's badly degraded, brittle, or baked on for a decade can eat up half a day or more, since every panel needs the slower soak-and-scrape cycle instead of a quick peel.
If you're bundling removal with a professional retint, expect four to seven hours total in a shop bay, or often a same-day turnaround depending on how the shop schedules its appointments. Mobile appointments run on their own timeline since a technician is working around your location and the day's route, so confirm your window when you book.
On cost, professional tint removal alone generally runs somewhere between $100 and $300, separate from the retint itself. A combined removal-and-retint package depends heavily on which film you choose and how many windows you're covering, since ceramic and IR-rejecting films price differently than standard dyed film. Getting a same-visit quote is the only way to nail down an exact number for your vehicle.
Skip the Scraping: Book a Mobile Tint Removal and Retint
If steam, razors, and residue soak times sound like more Saturday than you want to spend, Mobile tint removal and installation services can be arranged to avoid a gap where bare glass sits exposed. We work with premium films including 3M Ceramic IR film, 3M Color Stable, and Iviron KoolMax ceramic tint, and every defroster line gets inspected before any tool touches the glass.

Booking bundles the old-film strip and the new install into a single visit rather than two separate appointments, which keeps your glass clean between steps and saves you a second trip. A typical vehicle appointment runs a few hours depending on film condition and vehicle size, so clear a parking spot and have your keys ready when the technician arrives. Check mobile tinting pricing for your vehicle, or head straight to the mobile ceramic tint booking page to lock in a time.
Sources
- Window Tint Removal: When to Strip It and What to Expect | EuroLuxe Detailing
- How To Remove Window Tint Safely At Home | Chemical Guys
- How to Remove Window Tint – TheFixCar
- Remove tint from car windows | Family Handyman
FAQ
Do You Need to Remove Old Tint Before Putting on New Tint?
Yes. New film needs clean, residue-free glass to bond properly, and applying it over old tint or leftover adhesive causes bubbling and peeling within weeks.
Can I Just Pull My Tint Off Without Heat?
You can on very old, brittle film, but cold-pulling almost always leaves torn patches and a heavy adhesive layer behind. Heat from a steamer or heat gun makes the whole job faster and far less likely to scratch the glass.
Does WD-40 Remove Window Tint?
WD-40 can help loosen film, but it leaves an oily residue that interferes with new-film adhesion, so most techs recommend isopropyl alcohol or a dedicated adhesive remover instead.
What Are the Most Common Mistakes People Make Removing Tint?
The biggest ones are using oily lubricants like WD-40, pulling the film too fast and tearing it, holding a heat gun in one spot too long, and scraping with a dull blade that drags instead of cutting cleanly.
How Much Does Professional Tint Removal Cost?
Professional removal alone typically runs $100 to $300, with combined removal-and-retint packages priced separately based on film choice and vehicle size.