The workflow for tinting in Kendall is a structured, multi-stage process that covers legal compliance, film selection, surface preparation, installation, and post-cure care. Skipping any stage produces bubbles, haze, or a tint that fails Florida's VLT requirements. Southmiamitint has completed hundreds of mobile tinting jobs across Miami-Dade, and the same core sequence applies every time. This guide walks you through each step so you know exactly what a professional installation looks like and what to demand from any installer you hire.
What does the workflow for tinting in Kendall involve?
The Kendall tinting process is a defined sequence of steps, not a loose set of suggestions. Florida Statute §316.2954 requires front side windows to allow more than 28% visible light transmission (VLT), and installers must issue a signed compliance certificate immediately after the job. That legal requirement shapes the entire workflow from film selection forward. Choosing a film that cannot meet the VLT threshold makes every other step pointless.
The recognized industry term for this process is automotive window film installation. The phrase "workflow for tinting" describes the same thing in plain language. Both terms refer to the same ordered sequence of tasks that produces a legal, durable, and clear result.
What tools and preparations are needed before you start?
Preparation is where most DIY tinting jobs fail. Walking into the installation without the right tools or the right environment guarantees defects.
Required tools
- Tint film (3M Ceramic IR, 3M Color Stable, or Iviron Kollmax ceramic)
- Spray bottles filled with distilled slip solution
- Hard card squeegee and felt-edge squeegee
- Sharp cutting blades and a film cutting tool
- Heat gun or propane torch for shrinking curved glass
- Lint-free microfiber cloths
- Razor blade scraper for removing old adhesive
Environmental conditions
Weekday mornings have lower humidity and are the best time to schedule tinting in Kendall. High humidity, even indoors, interferes with film adhesion and causes bubbles. Avoid scheduling on rainy days entirely. A clean, enclosed workspace keeps dust off the glass during installation.
Tap water in Kendall contains calcium and magnesium. Distilled water is the only correct choice for your slip solution. Tap water leaves mineral deposits under the film that cause permanent haze.
Before any film touches glass, clean the windows thoroughly. Remove old tint or adhesive residue with a razor blade scraper and an ammonia-free cleaner. Any contamination left on the glass will show up as a bump or bubble after the film cures.
Pro Tip: Verify that your film brand carries IWFA certification before purchasing. Uncertified film often lacks the UV-blocking and heat-rejection properties listed on the package.
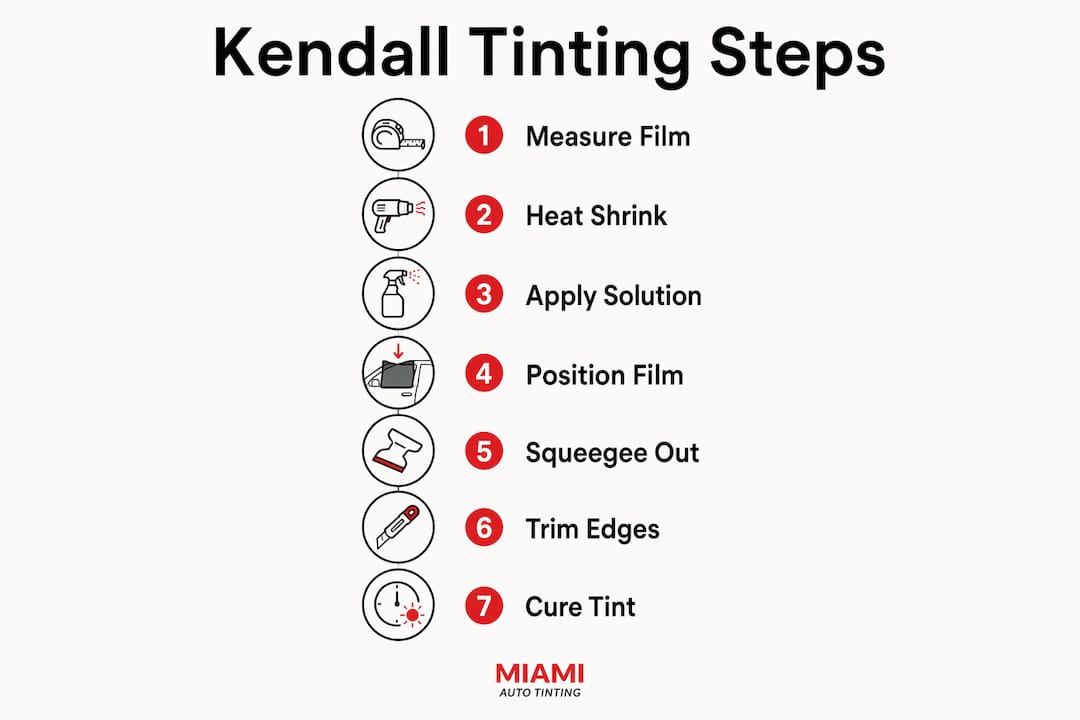
How do you execute each step of the Kendall tinting process?
The step-by-step installation process follows a consistent sequence regardless of the vehicle. Each stage builds on the last. Rushing one step forces you to redo the next.
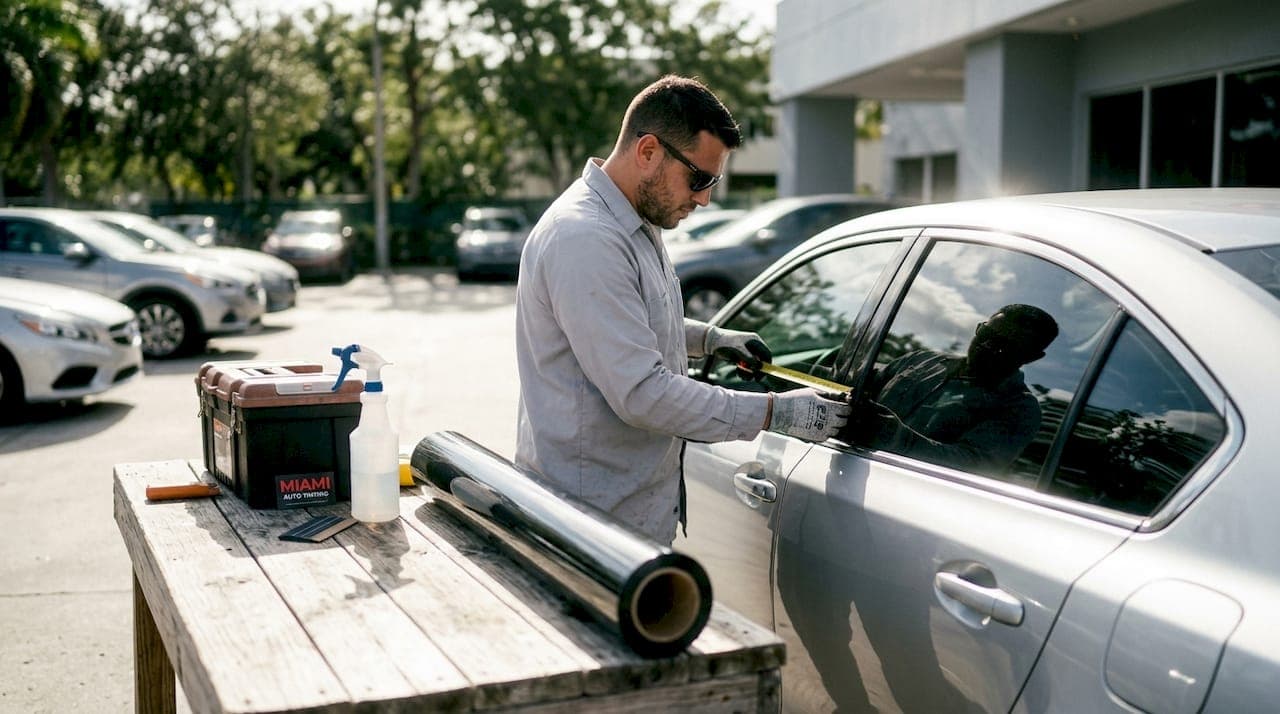
Step 1: Measure and cut the film
Roll out the film on a clean, flat surface with the liner side up. Measure each window individually. Windows on the same car are rarely identical. Cut the film at least one inch larger than the window on all sides. You will trim to final size after positioning.
Step 2: Heat shrink curved glass
Rear windshields and curved rear side windows require heat shrinking before installation. Using a heat gun on the outside of the glass while working the film with a squeegee conforms the flat film to the curved surface. Skipping this step causes "fingers," which are vertical wrinkles that cannot be removed after installation.
Apply heat in short passes. Work from the center of the film outward. The film will contract slightly and take the shape of the glass. Let it cool before moving to the next step.
Step 3: Apply slip solution
Spray the inside of the glass generously with distilled slip solution. Spray the adhesive side of the film as well. The solution lets you reposition the film without it sticking prematurely. Do not use plain water. The distilled solution contains a small amount of baby shampoo, which reduces surface tension and extends your working time.
Step 4: Position the film
Peel the liner from the film while keeping the adhesive side wet. Place the film on the inside of the glass, adhesive side against the glass. The film should overlap all four edges by at least half an inch. Slide the film into its final position while the solution keeps it mobile.
Pro Tip: Work with a partner on rear windshields. One person holds the film while the other sprays and positions. Solo installation on large curved glass almost always results in the film folding onto itself.
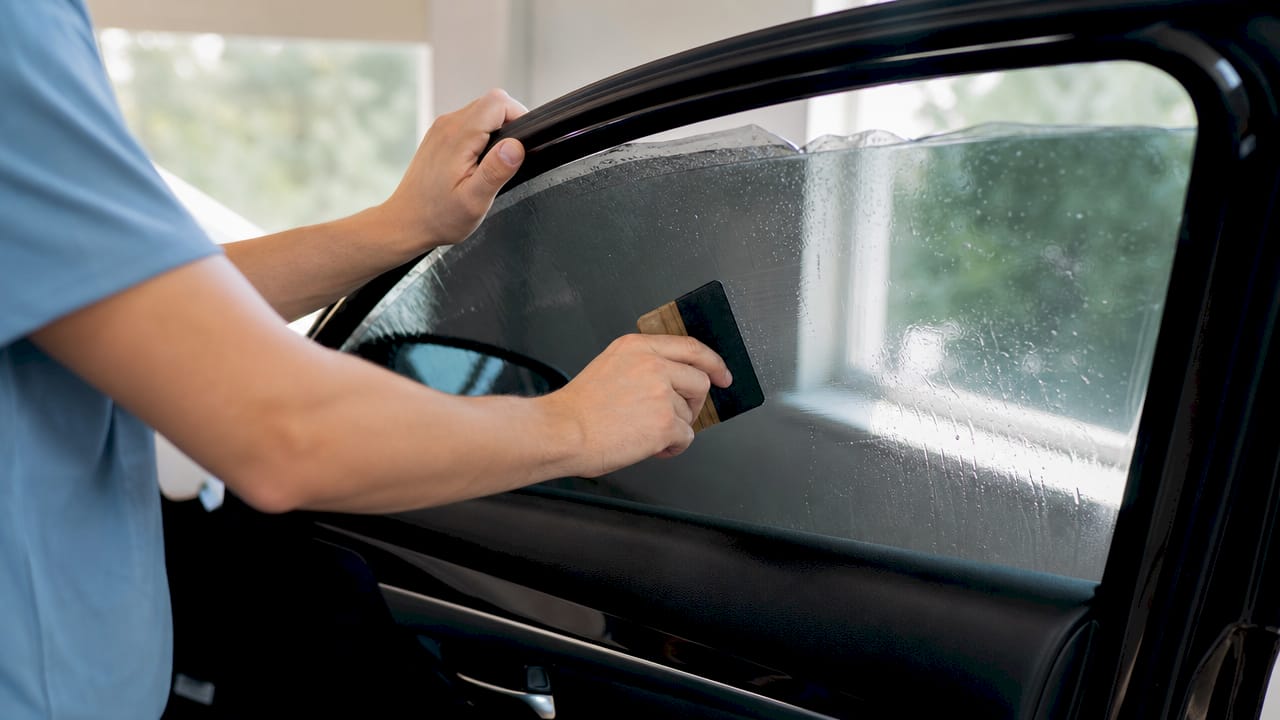
Step 5: Squeegee out water and air
Start at the center of the film and push outward toward the edges with firm, overlapping strokes. Use a hard card squeegee wrapped in a felt sleeve to avoid scratching the film. Work methodically. Every pass should push water and air toward the nearest edge.
The table below shows the correct squeegee direction for each window type.
| Window type | Squeegee direction | Common mistake |
|---|---|---|
| Front side windows | Center outward, then down | Starting at the top edge |
| Rear side windows | Center outward | Skipping the corners |
| Rear windshield | Center outward in a fan pattern | Using too little pressure |
| Rear quarter glass | Edge to edge horizontally | Rushing the corners |
Step 6: Trim edges and seal
Use a sharp blade to trim the film flush with the window gasket. A dull blade tears the film and leaves a ragged edge that peels within weeks. After trimming, run the squeegee along all four edges one final time to press the film into the gasket channel. Apply gentle heat from the heat gun along the edges to activate the adhesive and create a firm seal.
Step 7: Cure the tint
Post-install curing takes several days and varies with temperature and humidity. Keep the windows rolled up during the entire curing period. Do not clean the windows or apply any pressure to the film. Small water pockets visible right after installation are normal. They disappear as the film cures and the moisture evaporates through the film.
What are Florida's legal requirements for tinting in Kendall?
Legal compliance is not optional. Florida's VLT rules apply to every vehicle registered in Miami-Dade County, and Kendall falls under full enforcement.
- Front side windows: must allow more than 28% VLT
- Rear side windows: any darkness is permitted on vehicles with outside mirrors on both sides
- Rear windshield: any darkness is permitted with dual outside mirrors
- Windshield: only non-reflective tint above the AS-1 line is allowed
After installation, a certified spectrophotometer such as the Tint Meter™ Model TM-2 must be used to verify the actual VLT reading. Verbal estimates from the installer are not sufficient. The reading must be documented on a signed compliance certificate that you keep in the vehicle.
Florida law requires the compliance certificate to include the specific VLT reading for each window, the installer's name and contact information, and the date of installation. Keep this document in your glove box at all times.
Penalties for non-compliant tint include fines and a mandatory order to remove the film. Removal costs money and damages the glass if done improperly. Installer credentials matter here. IWFA-certified installers with at least three years of documented operation in Miami-Dade County are the standard to verify through Florida Department of State Sunbiz records.
What are the most common mistakes in Kendall window tinting?
Most installation failures come from a short list of avoidable errors. Knowing them in advance saves you time and money.
- Installing in high humidity: moisture in the air settles on the glass between cleaning and film application, causing adhesion failures
- Using tap water: Kendall's hard water leaves mineral deposits that create permanent haze under the film
- Skipping heat shrinking: flat film on curved glass always wrinkles; heat shrinking is not optional on rear windshields
- Rolling windows down too soon: the adhesive needs full curing time; rolling windows down before curing creases the film edge permanently
- Hiring uncredentialed installers: verify IWFA certification and Sunbiz records before committing to any mobile tinting service
Pro Tip: If you notice small bubbles or haze within the first week after installation, wait the full curing period before calling for a correction. Most minor imperfections resolve on their own as the film fully adheres.
Key takeaways
The full Kendall tinting workflow succeeds only when legal compliance, proper tools, correct film selection, and controlled environmental conditions all come together before the first piece of film is cut.
| Point | Details |
|---|---|
| Legal compliance comes first | Florida requires front windows above 28% VLT and a signed compliance certificate after every installation. |
| Distilled water is non-negotiable | Kendall tap water causes mineral haze under film; use distilled water for all slip solution. |
| Heat shrinking prevents wrinkles | Curved rear windshields require heat shrinking before installation to avoid permanent finger defects. |
| Curing takes several days | Keep windows rolled up and avoid cleaning until the film fully adheres and water pockets disappear. |
| Verify installer credentials | Confirm IWFA certification and Miami-Dade business history through Sunbiz before hiring any installer. |
What I've learned from tinting in Kendall's climate
Kendall's humidity is the variable that separates a clean installation from a failed one. I have seen installers with solid technique produce bubbled, hazy results simply because they scheduled jobs on a rainy afternoon or used the shop's tap water for slip solution. The film does not forgive moisture contamination. The VLT compliance process is equally unforgiving. Car owners who skip the spectrophotometer reading and rely on the installer's word end up with fines and a removal order.
The other pattern I see constantly is rushed DIY jobs on rear windshields. Flat film on curved glass without heat shrinking looks acceptable for about two weeks. Then the fingers appear and the film has to come off. A heat gun and ten extra minutes of work prevent that entirely.
My honest recommendation is to treat the compliance certificate as seriously as the film itself. Keep it in the vehicle. If you are pulled over, that document is the difference between a warning and a fine. Southmiamitint issues signed certificates with every installation, including the specific VLT reading for each window. That is the standard every installer in Kendall should meet.
— Jose
Southmiamitint's mobile tinting service for Kendall car owners
Southmiamitint brings professional window tinting directly to your location in Kendall, whether that is your driveway, office parking lot, or anywhere else in Miami-Dade.

Every installation uses 3M Ceramic IR film, 3M Color Stable, or Iviron Kollmax ceramic tint. All three films meet Florida's VLT requirements and come with manufacturer-backed warranties. Southmiamitint provides a signed compliance certificate with every job, so you leave with both a quality tint and the legal documentation to back it up. For ceramic window tinting starting at $249, Southmiamitint delivers the full tinting workflow steps at your door with no shop visit required.
FAQ
What VLT percentage is legal for front windows in Kendall?
Florida law requires front side windows to allow more than 28% VLT. Any film that drops below that threshold is illegal and subject to fines and mandatory removal.
How long does tint take to cure after installation?
Curing takes several days and depends on temperature and humidity. Keep windows rolled up and avoid cleaning the glass until all water pockets have fully disappeared.
Do I need a compliance certificate after tinting in Kendall?
Yes. Florida Statute §316.2954 requires a signed compliance certificate with the specific VLT reading for each window. Keep it in your vehicle at all times.
Why should I use distilled water for tint installation?
Kendall tap water contains calcium and magnesium that leave mineral deposits under the film. Those deposits cause permanent haze that cannot be corrected without removing and replacing the film.
How do I verify an installer's credentials in Kendall?
Check the installer's IWFA certification through the International Window Film Association database and confirm their Miami-Dade business history through Florida Department of State Sunbiz records.