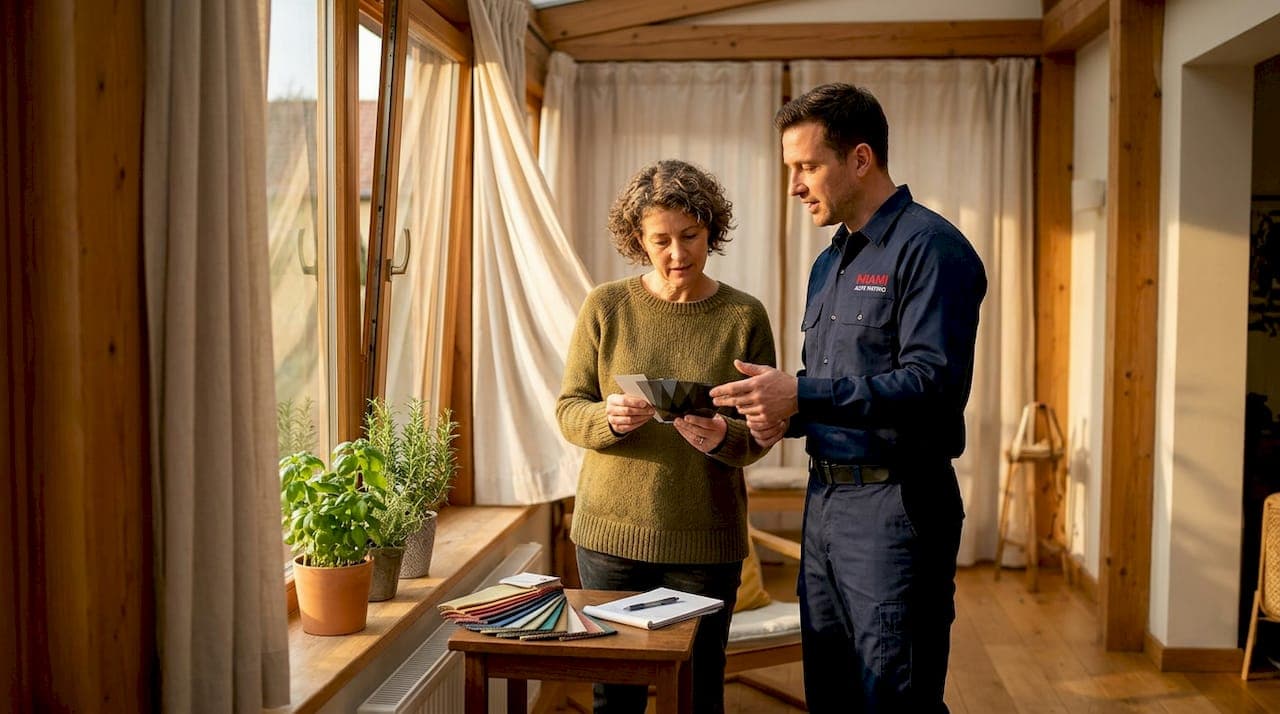
Choosing the right window tint for your home sounds straightforward until you're staring at a wall of film options, each promising different benefits, and you have no idea whether your double-pane windows can even handle them. The tint selection process for homes involves more than picking a shade you like. It requires matching the right film to your glass type, your goals, and your local climate. This guide walks you through every step: understanding film types, checking glass compatibility, following a clear selection process, and knowing what to expect after installation.
Table of Contents
- Key takeaways
- The tint selection process for homes starts with film types
- Why glass type can make or break your tint choice
- A step-by-step tint selection guide for homeowners
- Professional installation vs. DIY tinting
- What to expect after your tint is installed
- My honest take after years of residential tinting
- Get professional ceramic tint installed at your home
- FAQ
Key takeaways
| Point | Details |
|---|---|
| Match tint to your goals | Identify whether you prioritize privacy, UV protection, heat rejection, or style before comparing products. |
| Glass compatibility matters most | Applying the wrong film to Low-E or double-pane glass can cause costly thermal stress damage. |
| Professional installation protects your investment | Pros bring tools, expertise, and warranty coverage that DIY kits cannot match. |
| Ceramic films outperform on all fronts | Ceramic tint offers the best heat rejection and UV blocking without interfering with electronics. |
| Check regulations before buying | Local codes and HOA rules can restrict tint darkness or reflectivity for residential windows. |
The tint selection process for homes starts with film types
Not all window films are built the same. The four main types are dyed, metalized, carbon, and ceramic, and each one delivers a different balance of performance, appearance, and cost.
Dyed films are the most budget-friendly residential tint option. They absorb solar heat rather than reflecting it, which means they reduce glare and provide some privacy. The tradeoff is that they fade over time and offer the least heat rejection of any type.
Metalized films use small metallic particles to reflect heat away from the glass. They hold up better than dyed films and offer stronger heat rejection. However, they can interfere with GPS, cell signals, and Wi-Fi, which is a real concern in modern homes.
Carbon films skip the metal and use carbon particles instead. You get solid heat rejection, a matte finish that many homeowners prefer, and no signal interference. Carbon tints are a strong mid-range choice for most residential applications.
Ceramic films are the top performers. As tint types show, ceramic tint offers high heat rejection with zero signal interference and holds its color for years without fading. Films like 3M IR and Iviron Kollmax ceramic, which Southmiamitint installs, represent this category at its best. They cost more upfront but deliver measurably better comfort and longevity.
There is also a fifth category worth knowing: security films. These are thicker laminates designed to hold glass together on impact. Safety-rated window films block over 99% of UV light while also reducing injury risk by keeping shattered glass in place, which makes them a smart choice for ground-floor windows.
| Film type | Heat rejection | UV blocking | Signal interference | Relative cost |
|---|---|---|---|---|
| Dyed | Low | Moderate | None | $ |
| Metalized | Moderate | Good | Yes | $$ |
| Carbon | Good | Good | None | $$ |
| Ceramic | Excellent | Excellent | None | $$$ |
| Security | Moderate | Excellent | None | $$$ |
Pro Tip: Pick your primary goal first. If energy savings drive your decision, go ceramic. If privacy is the priority and budget is tight, carbon is your best middle ground.
Why glass type can make or break your tint choice
This is the step most homeowners skip, and it is the one that causes the most expensive mistakes. Not every window tint is compatible with every type of glass.
Single-pane windows are the most forgiving. They handle most film types without issue because heat absorbed by the film has one path out: to the exterior air. Double-pane windows are more sensitive. The gap between the panes traps heat, and if you apply a film that absorbs too much solar energy, that heat builds up between the layers. Applying the wrong film on insulated or Low-E glass can cause thermal stress, leading to seal failure or glass cracking.
Low-E glass already has a factory coating that manages heat and UV. Adding a high-absorption film on top can push the thermal load past what the glass was designed to handle. Laminated glass, commonly found in newer homes and hurricane-rated windows, needs careful film selection too because the interlayer can react poorly with certain adhesives.
Here is a quick checklist of glass factors to confirm before you choose any film:
- Glass pane count: single, double, or triple
- Low-E coating: check the original window specs or use a Low-E detector pen
- Laminated vs. tempered: ask your builder or check the window manufacturer label
- Existing coatings or previous tint: old adhesive can affect new film adhesion
- Window age and seal condition: damaged seals on double-pane windows disqualify some film types
Pro Tip: If you cannot find the manufacturer specs for your windows, a professional installer can assess your glass in minutes. That five-minute check can save you thousands in glass replacement costs.
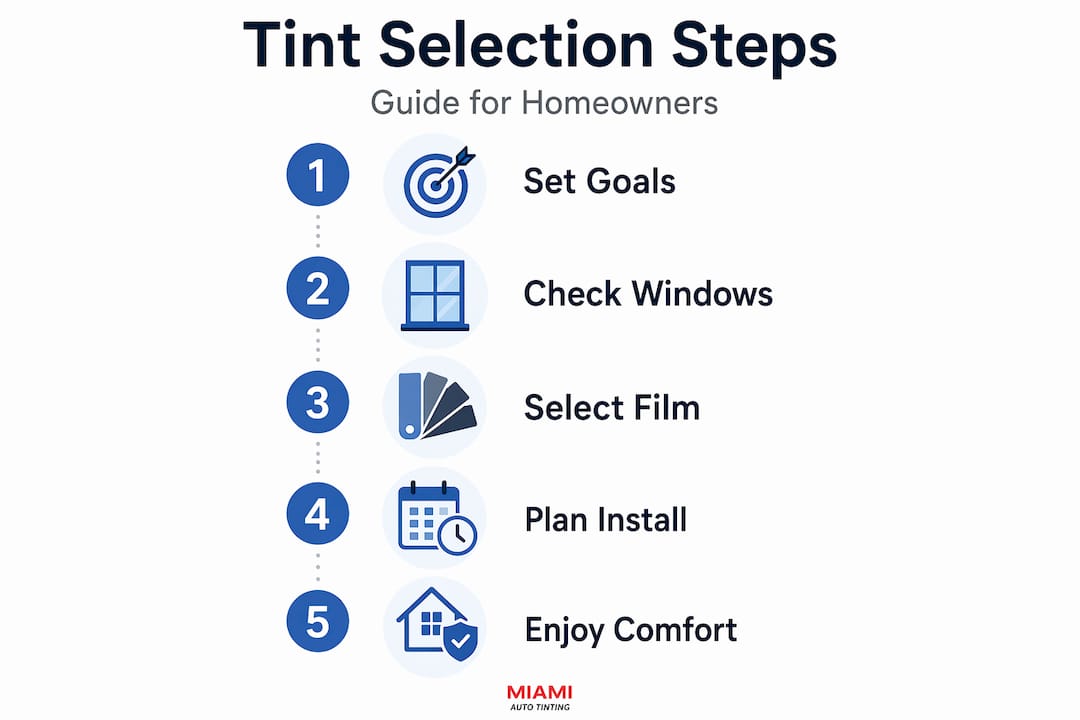
A step-by-step tint selection guide for homeowners
Now that you understand film types and glass compatibility, here is how to put that knowledge into a clear decision process.
-
Define your primary goal. Write down what you want most from your window film: heat reduction, UV protection, privacy, glare control, or improved security. Your answer should guide every other decision.
-
Measure your windows and list specifications. Note each window's dimensions, glass type, orientation (south-facing windows receive far more heat load than north-facing ones), and any existing treatments.
-
Check local codes and HOA rules. Local tinting laws and HOA rules can restrict how dark or reflective your residential tint can be. Some neighborhoods prohibit highly reflective films entirely. Find out before you buy.
-
Understand the reflectivity and visibility tradeoff. Darker films are not always more reflective. Reflectivity depends on film design rather than shade alone. A dual-reflective film can provide daytime privacy while keeping your nighttime view clear.
-
Get professional quotes and recommendations. Bring your window specs, your goals, and your HOA guidelines to at least two vendors. Ask specifically which films they recommend for your glass type, not just what is most popular.
| Step | Action | Decision checkpoint |
|---|---|---|
| 1. Set goals | List top priorities | Energy, privacy, UV, security? |
| 2. Audit windows | Measure and document glass type | Single, double, Low-E, laminated? |
| 3. Check regulations | Review HOA and local codes | Any restrictions on darkness or reflectivity? |
| 4. Review film options | Compare types against goals | Does the film match your glass type safely? |
| 5. Get professional input | Consult a certified installer | Is the recommended film backed by a warranty? |
Professional installation vs. DIY tinting
The DIY window film kits sold online look appealing, especially when the price is a fraction of professional installation. But the results rarely match the promise.
DIY window tinting frequently leads to bubbling, peeling, and misalignment. Beyond aesthetics, improper installation often voids the manufacturer's warranty on both the film and sometimes the window itself. Professional installers use precision cutting tools, application solutions, and squeegees calibrated for glass surfaces. They also conduct a professional glass evaluation before applying any film, catching compatibility issues that a homeowner would likely miss.
A full residential installation typically takes about a full working day for an average home. That timeline accounts for surface prep, careful application, and cleanup. Rushing it yourself over a weekend almost always shows.
Before any installation, professional or otherwise, prepare your windows with these steps:
- Remove all window treatments, blinds, and curtains the morning of installation
- Clean window frames thoroughly, not just the glass
- Clear furniture away from windows to give the installer room to work
- Notify the installer of any existing window damage, failed seals, or past tint removal
- Clean windows and surface prep directly affect final adhesion and appearance
Pro Tip: DIY can work reasonably well on small, flat single-pane windows in low-traffic areas like a bathroom. For large living room windows, curved glass, or any double-pane setup, hire a professional every time.
What to expect after your tint is installed
The first thing most homeowners notice immediately is the glare reduction. Spaces that were uncomfortable to sit in during the afternoon become usable again. Temperature consistency across rooms improves within days as heat load at the glass drops.
Over time, professionally matched tints protect furnishings, flooring, and artwork from UV degradation. Window tinting blocks UV rays responsible for fading, meaningfully extending the life of your interior. That is a measurable return on investment beyond energy savings.
A few things to watch for after installation:
- Minor bubbles in the first few weeks: Water-based curing is normal. Most small bubbles disappear as the adhesive sets. Larger or persistent bubbles need professional attention.
- Nighttime visibility changes: Some films reduce outward visibility at night when interior lights are on. This is expected behavior, not a defect.
- Film edges lifting: This usually signals improper prep or poor adhesion and should be addressed by the installer promptly.
Pro Tip: Avoid cleaning your windows with ammonia-based products after tinting. Use a soft cloth and a mild soap solution instead. Ammonia degrades the film adhesive over time.
Window tinting outperforms blinds and curtains because it manages heat at the glass surface itself, before that heat enters the room. Blinds and curtains trap heat inside the window space and release it inward. Tint stops the problem at the source.
My honest take after years of residential tinting
I have seen every variation of the homeowner tint mistake, and the most expensive one is always the same: someone installs a dark, high-absorption film on double-pane windows without checking compatibility first. The seal fails within months, the insulating gas escapes, and suddenly a $300 tint job triggers a $1,200 window replacement.
What I have learned is that most homeowners think about tint the way they think about paint. They focus almost entirely on appearance. In reality, the structural relationship between the film and the glass underneath it is what determines whether you get ten years of comfort or a warranty dispute in year two.
The homeowners who get the best results treat this as a home improvement project, not a cosmetic one. They come to installers with their window specs in hand. They know whether their windows are Low-E. They have checked their HOA rules. That preparation takes maybe 30 minutes and it makes every conversation with a professional faster and more productive.
My advice: do not let perfect be the enemy of good. You do not need to become a glass expert. But investing in a window film selection guide read or a 15-minute consultation with a certified installer before you buy anything will save you real money and frustration.
— Jose
Get professional ceramic tint installed at your home
If you have worked through this guide and you want the best performing film for your Miami home, ceramic window tint is the answer. Southmiamitint installs 3M IR, 3M Color Stable, and Iviron Kollmax ceramic films across Miami-Dade, and we come to you. No hauling furniture, no shop visits, no scheduling around a fixed location.

Our ceramic tint for homes starts at $249 and includes a professional glass assessment before any film is applied. We check your glass type, confirm compatibility, and only recommend films we can stand behind with a warranty. You get heat rejection, UV protection, and a cleaner look without any of the guesswork. Contact Southmiamitint for a quote and let us handle the selection and installation from start to finish.
FAQ
What is the best tint for home windows?
Ceramic window film is the top-performing residential option because it delivers the highest heat rejection and UV blocking without interfering with electronics or signals. For budget-conscious homeowners, carbon film offers solid performance at a lower price point.
Can you put tint on double-pane windows?
Yes, but you need to choose the right film type. Certain high-absorption films can cause thermal stress in double-pane glass, leading to seal failure. A professional installer can assess your specific windows and recommend a compatible film.
How long does home window tint installation take?
Tinting a typical residential home takes about a full working day, depending on the number of windows and their size. Proper prep and careful application are what take the most time.
Do HOA rules apply to window tinting?
Yes, local tinting regulations and HOA rules can restrict how dark or reflective your window film can be. Always check your HOA guidelines and local codes before purchasing or installing any tint.
How do you maintain residential window tint?
Avoid ammonia-based cleaners, which break down film adhesive over time. Use a soft cloth with mild soap and water. Most quality films installed by professionals require minimal maintenance and last 10 to 15 years with basic care.