Sitting in a parked car in Miami in July feels like being inside a convection oven. Steering wheels become too hot to touch, dashboards crack under relentless UV exposure, and interior temperatures can spike past 150°F within minutes. Ceramic window tint is the most effective solution available to Miami-Dade drivers, but only when the right film is chosen, correctly installed, and verified for real-world performance. This guide walks you through every phase of an efficient ceramic tint workflow, from understanding what efficiency actually means to confirming your tint will hold up for a decade or more in South Florida's punishing climate.
Table of Contents
- Understanding ceramic tint efficiency: What really matters?
- Preparation essentials: Tools, materials, and planning for success
- Step-by-step efficiency workflow: Professional ceramic tint application
- Verification: How to check for efficiency and long-term durability
- Our perspective: The hidden cost of efficiency shortcuts in Miami
- Get expert ceramic tinting that lasts—book your Miami service
- Frequently asked questions
Key Takeaways
| Point | Details |
|---|---|
| TSER is the key metric | Total Solar Energy Rejection is more meaningful than IR numbers for Miami heat reduction. |
| Professional install matters | Expert installers deliver longer-lasting, bubble-free results and keep your warranty valid. |
| Efficient workflow saves time | Preparation and mapping steps with proper tools boost efficiency and performance. |
| Legal compliance is essential | Make sure your ceramic tint meets Miami-Dade County and Florida window tint laws. |
Understanding ceramic tint efficiency: What really matters?
Building on the need for efficiency, it's critical to understand what actually makes ceramic tint work and what doesn't. The window film industry is full of marketing numbers that sound impressive but don't tell the full story. Before you spend money on any film, you need to know which metrics actually predict how cool and comfortable your car will feel.
Total Solar Energy Rejection (TSER) is the single most important number. TSER measures the percentage of all solar energy, including visible light, infrared radiation, and ultraviolet rays, that a film blocks. Infrared (IR) rejection measures only the heat-carrying infrared portion of the solar spectrum. UV protection refers specifically to blocking ultraviolet rays, which cause skin damage and interior fading.
Here's where drivers get misled. A film marketed as blocking "98% of infrared rays" sounds extraordinary. But infrared accounts for roughly 53% of total solar energy. If a film blocks 98% of IR but allows significant visible light heat to pass through, the real-world TSER might still be modest. IR claims often mislead because TSER is the key metric that reflects actual cabin temperature reduction.
"Don't buy a tint based on a single percentage. Ask your installer for the full TSER rating, not just the IR or UV number. That's the figure that tells you how much cooler your car will actually feel."
How popular film types compare
| Film type | TSER | IR rejection | UV protection |
|---|---|---|---|
| Standard dyed film | 25 to 35% | 30 to 40% | Up to 99% |
| Metalized film | 35 to 50% | 50 to 65% | Up to 99% |
| Carbon film | 40 to 55% | 55 to 70% | Up to 99% |
| Ceramic film (3M IR, Iviron Kollmax) | 55 to 70%+ | 85 to 99% | Up to 99% |
Ceramic film wins across every category that matters for Miami heat. Films like 3M IR and Iviron Kollmax use nano-ceramic particles, not metal, so they reject heat without interfering with GPS, cell signals, or toll transponders.
What influences real-world performance in Miami:
- Film quality and manufacturer reputation
- Correct VLT (Visible Light Transmission) percentage to stay within Miami window tint laws
- Installation quality, including adhesion, edge sealing, and bubble-free application
- Glass condition and cleanliness before application
- Curing time respected in Miami's humid environment
Understanding these factors means you won't be fooled by a cheap film with a big IR number on the box.
Preparation essentials: Tools, materials, and planning for success
Once you know what efficiency in tinting really means, the next step is gathering the right tools and planning for a trouble-free application. Whether you're evaluating a professional service or simply want to understand what goes into a quality job, knowing the preparation requirements helps you ask the right questions and spot corners being cut.
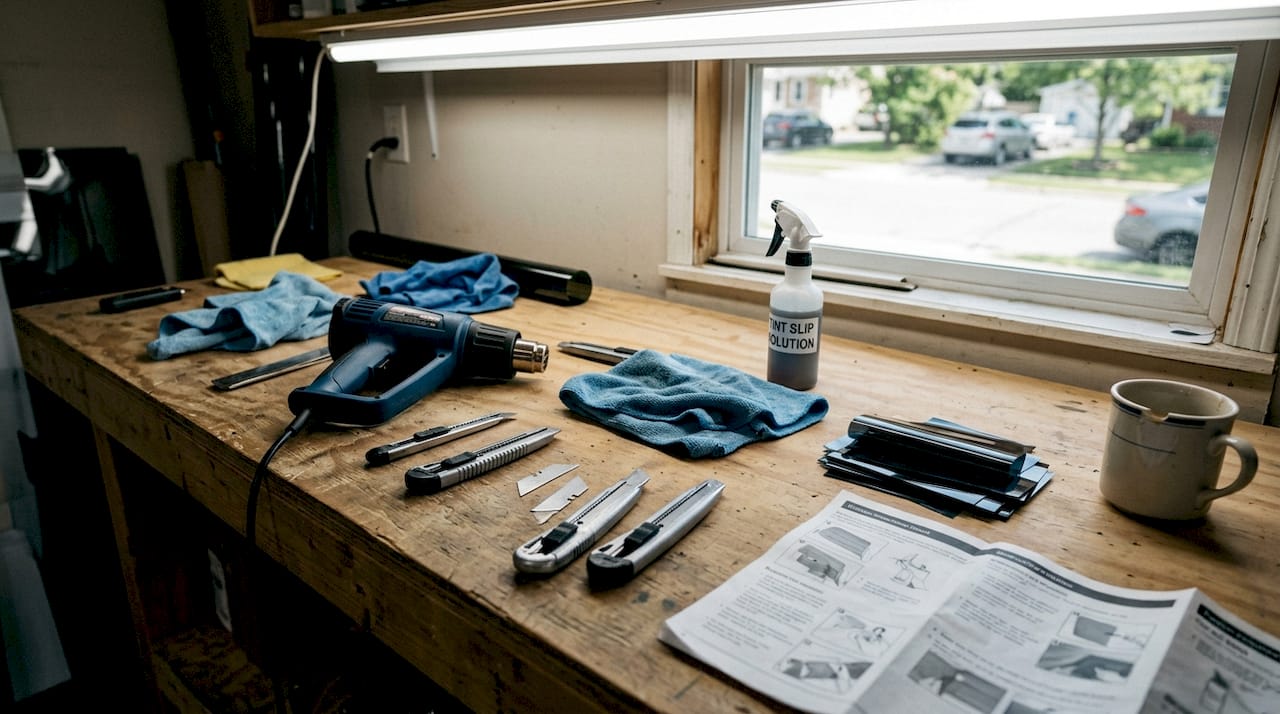
A professional ceramic tint installation requires a specific set of tools that most vehicle owners simply don't own. Squeegees with hard and soft edges, a heat gun, a slip solution (a soap-and-water mix that allows film repositioning), lint-free cloths, precision cutting tools, and pre-cut digital templates are all standard in a pro shop. Pre-cut templates are especially valuable because they're computer-generated to match your exact vehicle's window dimensions, eliminating guesswork and reducing waste.
Tool and material comparison
| Item | Pro install | Typical DIY setup |
|---|---|---|
| Pre-cut film templates | Yes, computer-generated | Rarely available |
| Professional heat gun | Yes | Often a basic hair dryer |
| Hard and soft squeegees | Full set | One or two low-quality |
| Dust-free workspace | Controlled environment | Garage or driveway |
| Quality ceramic film | 3M IR, Iviron Kollmax | Generic online purchase |
| Legal compliance check | Always included | Often skipped |

The workspace itself matters enormously. Dust particles trapped under film create visible bumps that can't be removed after curing. A professional environment is climate-controlled, well-lit, and free of airborne debris. Miami's outdoor humidity also affects how quickly the slip solution evaporates during application, which is why indoor installation is non-negotiable for a quality result.
Planning the job before touching the film is just as important as the application itself. This means mapping each window's dimensions, confirming the film's VLT percentage is legal for each window position, and sequencing the workflow so no panel is left exposed while another is being cut.
Pro Tip: Ask your installer if they use pre-cut digital templates for your specific vehicle make and model. Template-based cutting reduces installation time by up to 30% and virtually eliminates edge errors that cause peeling later.
Essential preparation steps:
- Wash the vehicle thoroughly, including door jambs and window edges
- Inspect glass for chips, scratches, or delamination that could affect adhesion
- Confirm film VLT percentages against Florida law for each window
- Stage all tools within arm's reach before opening any film roll
- Allow the workspace to reach a stable temperature before starting
Skipping any of these steps is where DIY vs. pro tinting outcomes start to diverge dramatically. A rushed prep phase almost always shows up as bubbles, lifting edges, or uneven tint within the first few months. Professional installation is essential to avoid these costly problems and protect your warranty.
Step-by-step efficiency workflow: Professional ceramic tint application
With the tools and prep out of the way, it's time to dive into the exact steps for a highly efficient, professional result. A skilled installer doesn't just apply film and hope for the best. Every phase is mapped, timed, and executed in a specific sequence that maximizes both speed and quality.
The professional ceramic tint workflow
-
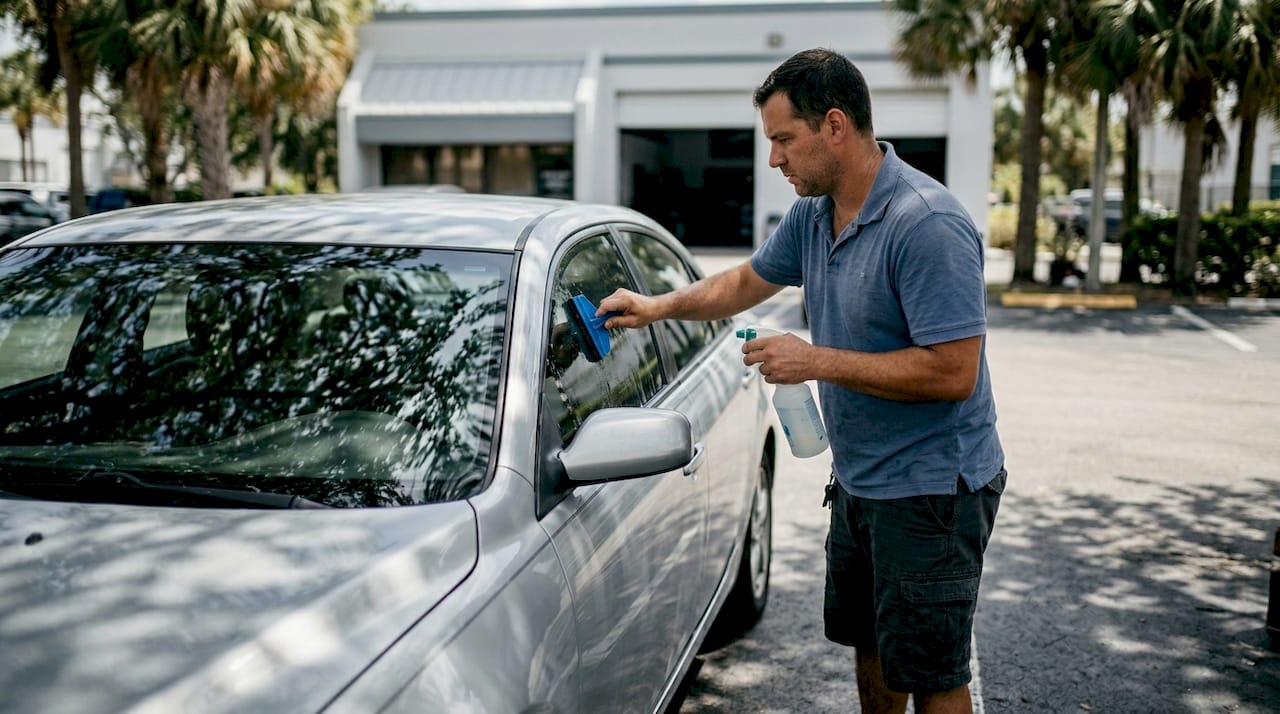
Surface preparation. Clean every window with an ammonia-free solution and a lint-free cloth. Tape off rubber gaskets and trim to protect them from the slip solution. Inspect the glass one final time under a bright light.
-
Template selection and film cutting. Pull the pre-cut template for the vehicle or use a digital plotter to cut the film to exact dimensions. Cutting accuracy here determines edge quality and prevents lifting at corners.
-
Wet application. Spray the glass liberally with slip solution. Peel the film liner and apply the adhesive side to the interior glass surface. The slip solution gives you time to reposition before the film locks in place.
-
Squeegee and air removal. Use a hard squeegee to push the slip solution and any trapped air toward the edges. Work from the center outward in overlapping strokes. Switch to a soft squeegee near edges to avoid scratching the film.
-
Heat forming. On curved glass like rear windows, a heat gun is used to shrink the film so it conforms to the curve without fingers (small folds). This step requires skill and patience. Rushing it creates permanent wrinkles.
-
Curing. Allow the film to cure undisturbed. In Miami's humidity, curing can take three to five days. Small water bubbles visible immediately after install are normal and will evaporate during this period.
Professional jobs that follow this workflow prioritize efficiency at every step, using pre-cut templates and organized staging to minimize wasted time and material. A two-person team can complete a full vehicle in three to four hours using this method, compared to six or more hours for a solo installer working without templates.
The upfront cost of professional ceramic tint typically runs $400 to $600 for a full vehicle, but that investment can last 10 or more years without fading or performance loss. Compare that to a $150 DIY kit that may need replacement within two years, and the math strongly favors going pro.
Pro Tip: For SUVs and trucks with large rear windows, a two-person install team makes a measurable difference. One person manages the film while the other operates the squeegee, reducing the chance of the film folding onto itself during placement.
Always confirm the chosen film's VLT percentage against legal tint limits before cutting. Florida law specifies different VLT requirements for front side windows, rear side windows, and rear windows. For a detailed breakdown of what's allowed, the Miami pro tinting guide covers every window position clearly.
Verification: How to check for efficiency and long-term durability
Once the tint is on, confirming it delivers the promised efficiency and will stand up to Miami's environment is the final step. A quality installation should be visually flawless and measurably effective. Here's how to check both.
Immediate quality inspection checklist:
- No visible air bubbles larger than a pencil eraser (small water bubbles during curing are normal)
- Film edges sit flush with the window frame with no lifting or gaps
- Tint color is uniform with no streaks, blotches, or dark patches
- Rear defroster lines are intact and functional
- VLT percentage matches what was agreed upon and is legally compliant
Professional vs. DIY longevity comparison
| Factor | Professional install | DIY install |
|---|---|---|
| Expected lifespan | 10 to 15 years | 2 to 5 years |
| Bubble risk | Very low | High |
| Edge peeling | Rare | Common within 1 to 2 years |
| Warranty coverage | Full manufacturer warranty | Usually voided |
| Legal compliance | Verified before install | Often unknown |
Troubleshooting common issues:
- Bubbles after curing: Persistent bubbles after five days indicate poor adhesion or contamination during install. Contact your installer immediately.
- Purple or faded tint: This is a sign of dyed film degrading under UV. Ceramic film should not discolor. If it does, the film may not be genuine ceramic.
- Peeling edges: Usually caused by improper edge sealing or low-quality adhesive. A professional re-installation is required.
- Reduced heat rejection over time: If your car feels noticeably hotter after a year or two, the film may have delaminated internally. This is rare with quality ceramic film but common with cheap alternatives.
"Only professionally installed ceramic tint preserves the manufacturer's warranty and delivers the heat rejection performance you paid for. A failed DIY job costs twice: once for the materials, and again for the professional re-do."
For long-term care in Miami's climate, use a microfiber cloth and ammonia-free cleaner on tinted windows. Avoid rolling windows down for the first three to five days after installation. Park in shade when possible to reduce cumulative UV load. Properly installed ceramic tint lasts 10+ years without fading when these simple care habits are followed consistently.
Comparing what's legal across different South Florida counties is also worth doing. The tint law comparison between Miami-Dade and surrounding areas shows subtle but important differences that could affect your choices if you drive across county lines regularly.
Our perspective: The hidden cost of efficiency shortcuts in Miami
We've tinted hundreds of vehicles across Miami-Dade, and the pattern is always the same. Drivers who try to save money with cheap film or a rushed DIY job end up spending more within 18 months. Miami's sun isn't like the sun in Atlanta or Chicago. The UV index here regularly hits 11 or higher, and the combination of heat, humidity, and salt air accelerates every weakness in a poor installation.
We've seen dyed film turn purple in under a year. We've re-done DIY jobs where the film was applied to the outside of the glass instead of the inside. We've had customers bring in cars where the tint was so dark it was an immediate traffic stop waiting to happen. Every one of those situations cost the driver real money and real frustration.
The uncomfortable truth is that warranty claims almost never succeed for DIY installs. Manufacturers require professional application as a condition of coverage. Bubbles, peeling, and discoloration from an improper install are not covered, regardless of how premium the film was.
DIY vs. pro outcomes aren't even close when you factor in Miami's climate. Professional installers map every step, verify legal compliance, and back their work with a warranty. That's not a luxury. In South Florida, it's the only approach that actually works long-term.
Pro Tip: Never skip the legal compliance check before installation. Miami-Dade law enforcement does inspect tint, and a failed job means paying for a full removal and reinstall at your expense.
Get expert ceramic tinting that lasts—book your Miami service
Ready for flawless, efficient tint? Here's how to secure your heat-blocking upgrade.
Everything covered in this guide, from understanding TSER to verifying post-install quality, is exactly what our team executes on every job. We bring the shop to you with our mobile ceramic tint service, so there's no need to drive across town or wait in a shop. We use only 3M IR, 3M Color Stable, and Iviron Kollmax ceramic films, the same premium options discussed throughout this article.
Whether you want the precision of 3M ceramic tint or a full vehicle package through our mobile car window tinting service, we handle everything from legal compliance checks to post-install verification. Get your quote today and start driving cooler tomorrow.
Frequently asked questions
What makes ceramic tint more efficient than regular film?
Ceramic tint uses advanced nanoparticles to reject more solar energy without metal, blocking heat, UV, and glare far more effectively than standard films, and its TSER rating reflects that real-world performance advantage.
How long does ceramic tint last on a vehicle in Miami?
Professional ceramic tint lasts 10 or more years in Miami's climate, provided it's properly installed and maintained with ammonia-free cleaners and regular shade parking.
Can I install ceramic tint myself and still get good results?
DIY ceramic tint is risky because without professional tools and experience, you're likely to get bubbles, reduce the film's efficiency, or void manufacturer warranties that protect your investment.
Is ceramic tint legal on all windows in Miami-Dade County?
Ceramic tint is legal as long as it meets Florida's visible light transmission requirements for each specific window position, so always confirm your installer verifies compliance before cutting any film.